
Tropical Burst Granny Square Bed Cover Crochet Pattern
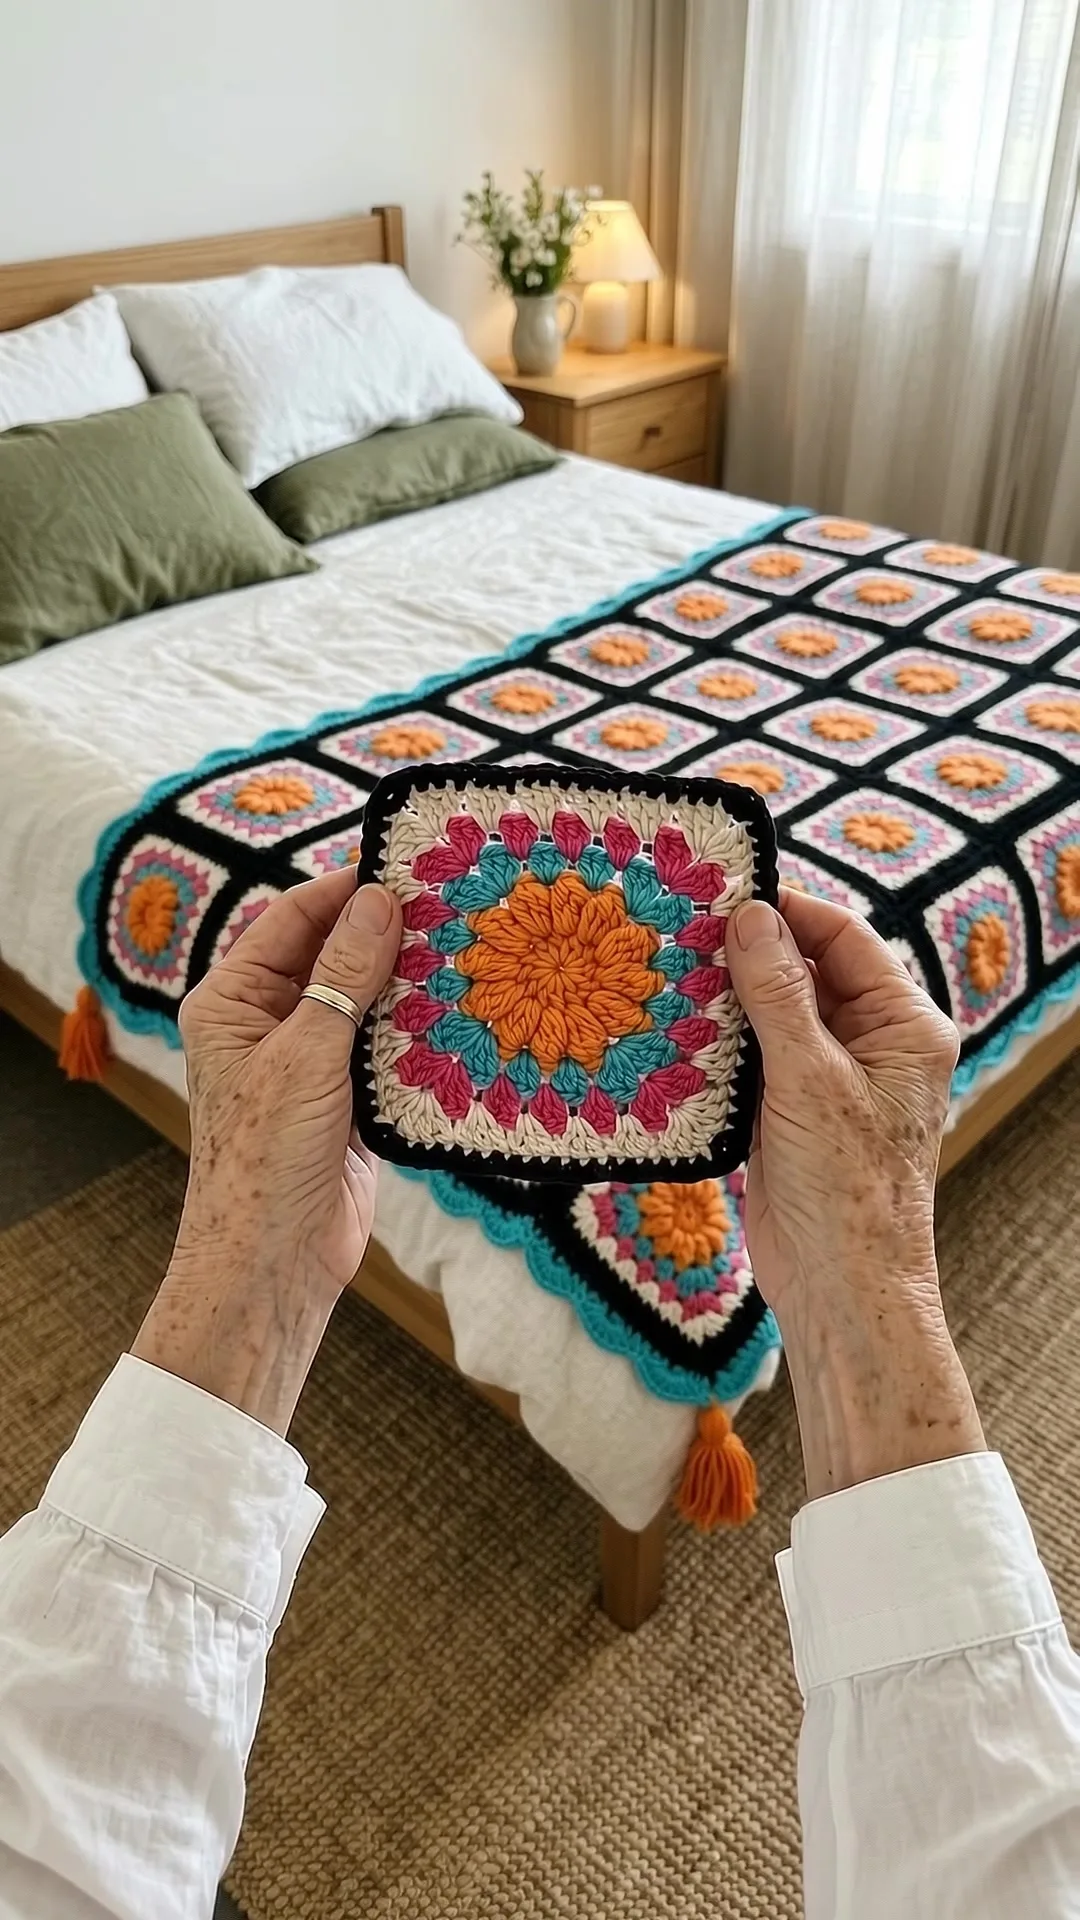
Uses only ch, sc, dc and slip stitches.
About 40 to 60 hours for a full size cover.
Bold bright colors.
About This Tropical Burst Granny Square Bed Cover Crochet Pattern Pattern
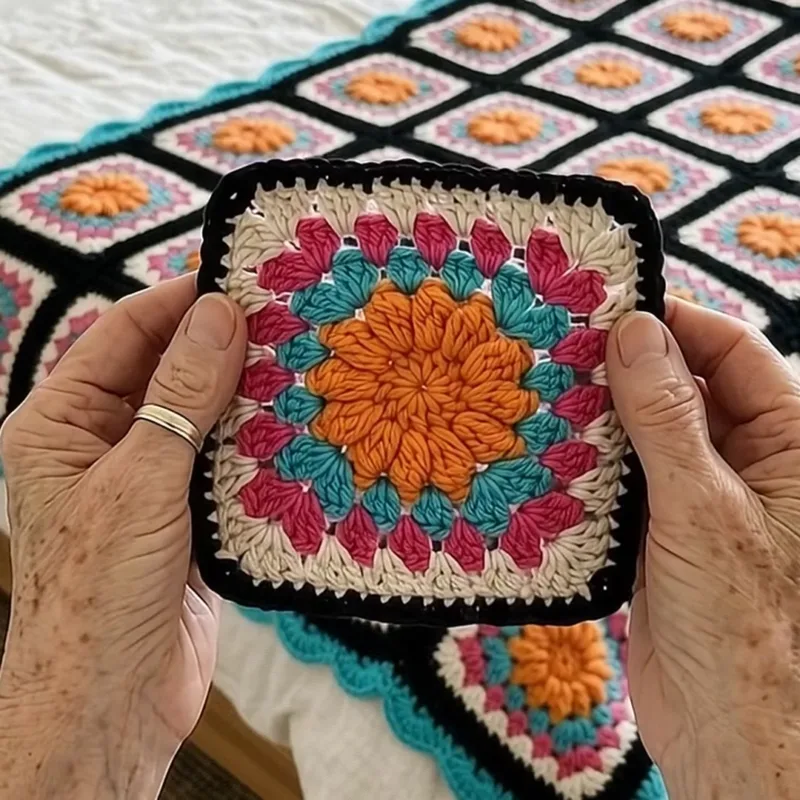
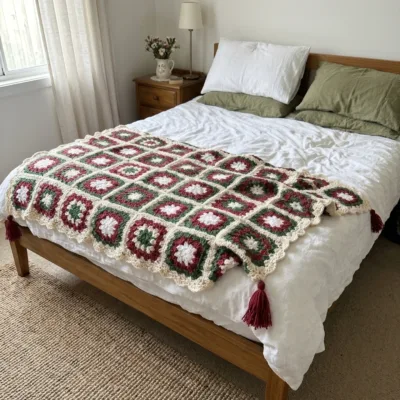
The tropical burst granny square bed cover is a celebration of color. Every square starts with a tangerine orange flower center, grows through rounds of turquoise and hot pink and is framed in black with a white outline so the bright colors seem to glow. Eighty squares are joined in a grid of eight across and ten down, then finished with a scalloped edge and a row of tassels along the side and foot. The finished cover measures about 48 by 60 inches, which is a generous throw for a twin bed or a lap blanket for the whole family on the sofa.
If you have ever wanted a project that looks like a family heirloom but is made from the simplest stitches, this is it. You only need chain, single crochet, double crochet and slip stitch. There is no complicated shaping and no tricky stitch pattern to memorize. Once you have made two or three squares, your hands will remember the rhythm, and the rest is simply a matter of time and enjoying the colors.
What makes this cover special
Classic granny squares are usually worked in softer, quieter shades. This pattern does the opposite. The black frames are dark and rich, which makes the tangerine, turquoise and hot pink look almost like neon lights at night. When you lay the squares side by side, the flower centers form a repeating pattern that draws the eye across the whole bed. The effect is lively and a little bit retro, but the clean grid keeps it from feeling busy.
Another thing I love is how portable the project is. Each square is small, so you can toss a few yarn balls and a hook in a tote bag and work on squares anywhere: in the car, on the sofa, in a waiting room or on your lunch break. Finishing a square is a quick win, and those small wins add up fast. By the time you have made ten squares, you can already see the personality of the cover taking shape.
Skill level and what to expect
This pattern is beginner friendly. If you can chain, make a single crochet and a double crochet, and join a round with a slip stitch, you have all the skills you need. That said, it is a long project. A full size cover takes about 40 to 60 hours from the first square to the last tassel, depending on how fast you crochet. The best way to approach it is to break it into small goals, such as four squares a week, rather than thinking about the whole blanket at once.
Here is a simple way to plan your time:
- Weeks one to four: Make the squares. At roughly 20 to 30 minutes per square, eighty squares take about 30 to 40 hours in total.
- Week five: Lay out the squares, check the color placement and join them into rows.
- Week six: Join the rows, work the scalloped edging and add the tassels.
Choosing your yarn
The pattern uses worsted weight (number four) cotton yarn. Cotton is a wonderful choice for a bed cover because it is breathable, easy to wash and has beautiful stitch definition. The squares keep their shape and the rounds look crisp. A soft cotton blend or a good quality acrylic is a fine alternative if you want something lighter and a little more elastic.
When you pick your colors, test them together before you buy all of the yarn. Hold the skeins side by side in natural daylight, because store lighting can make colors look very different at home. You want enough contrast between the shades so that every round reads clearly once it is crocheted.
Plan on the following amounts, and always buy a little extra of the main colors:
- Black: about 900 grams for the frames
- Tangerine orange: about 300 grams for the flower centers and tassels
- Turquoise: about 400 grams for the second rounds and edging
- Hot pink: about 300 grams for the third rounds
- White: about 250 grams for the outlines
That comes to about 2150 grams in total. Try to buy all of each color at the same time so the dye lots match. Even a small difference in dye lot can show in a large project, especially in a dark color.
Tools you will need
A 4.5 mm crochet hook is the size used for the swatch. A comfortable hook matters when you have eighty squares ahead of you, so choose one that feels good in your hand. Ergonomic handles can make long crochet sessions much kinder to your wrists. You will also need a yarn needle for weaving in ends and joining, sharp scissors, a measuring tape and a few stitch markers. A tray or shallow box is useful for keeping finished squares sorted.
Gauge and square size
Each finished square should measure 6 inches across. This is the single most important number in the whole pattern, because the final size of the cover depends on it. Make one square first and measure it on a flat surface. If it is smaller than 6 inches, go up a hook size. If it is larger, go down a hook size. Do not worry if you are off by a fraction, but if your squares are consistently different, the grid will look uneven when you join them.
It helps to block your first square lightly and measure it again, since cotton can relax a little after washing. Keep that first square as a size reference and compare every new square to it as you work.
Tips for making eighty even squares
Making the same square again and again is meditative, but it is also easy to drift in tension without noticing. These habits help keep the squares consistent:
- Work in batches. Make all of the centers first, then add the next round to all of them, and so on. Batch work keeps your tension steady within each color and saves time on changing yarn.
- Count your stitches at the end of each round. Counting is faster than ripping out later.
- Check the size of each square against your first one.
- Weave in the ends as you go, or at least every ten squares. Eighty squares with several color changes each is a lot of ends to leave until the end.
- Store finished squares flat in a bag or box so they do not stretch or tangle.
Laying out the color plan
Before you join anything, spread all of the squares on the floor or on a clean bed. Arrange them in a grid of eight across and ten down. Step back and look at the overall effect, and swap any squares that feel too close in tone to their neighbors. Rotate the squares so the seams of the final round sit in the same direction. Take a photo of the layout on your phone so you can refer to it while joining.
Joining the squares
Join the squares with a whipstitch worked through the back loops only. This creates a flat, flexible seam that disappears into the design. First, join the squares into rows of eight. Then join the ten rows together, matching the seams carefully at the corners so the grid stays straight. Use a long length of yarn and a yarn needle, and keep your stitches loose enough that the seam does not pull the blanket tight. A seam that is too tight will make the cover stiff and can cause it to ripple.
Finishing: the scalloped edge and the tassels
The border gives the cover its polished look. Work a round of single crochet evenly around the edge, with three single crochets in each corner, then add the scalloped round of double crochet groups. The scallops echo the round shapes of the squares. Finally, make tassels and attach them along the side and foot of the cover. Tassels are simple to make by wrapping yarn around a piece of cardboard, tying one end, cutting the other and knotting the bundle through an edge stitch.
Finish by weaving in any loose ends and blocking the cover. Blocking evens out the squares, opens up the stitches and sets the shape of the scallops. You can wet block by laying the cover flat on towels, gently shaping it to 48 by 60 inches and letting it dry completely.
Why You'll Love This Tropical Burst Granny Square Bed Cover Crochet Pattern Pattern
There are many reasons to fall in love with this cover, and the first one is how it looks. Black is a dramatic, grounding color, and when it surrounds a flower made of tangerine, turquoise and pink, the center of each square practically glows. A bed with this cover on it becomes the focal point of the room, whether the rest of the space is calm and neutral or full of color already.
It is also a project that rewards you at every stage. The first square gives you a small, finished piece in under an hour. The first row of squares shows you how the colors play together. The finished grid looks like it took far more skill than it really did, because the pattern relies on repetition and color instead of difficult stitches.
A gift that lasts
A handmade bed cover is the kind of gift people keep for decades. It makes a thoughtful wedding present, a new home gift, a graduation present for a student heading to a dorm, or a special keepsake for a grandchild. Because the pattern is made of separate squares, you can even hand out squares to friends and family and ask each of them to make a few, then join them into a cover that carries everyone's work. Just check that each person uses the same yarn and hook size so all of the squares come out at 6 inches.
Durable and easy to care for
Made in cotton, this cover is practical as well as pretty. It can handle regular use, and it washes well. Cotton also stays cool, so you can use the cover in warmer months as a light layer, or put it over a quilt in winter for extra warmth. The small, tightly worked stitches hold up well to daily wear.
Perfect for using up stash
Because each square only uses small amounts of the accent colors, this pattern is great if you already own leftover cotton yarn. If you have half used skeins from other projects, you can start making centers right away and buy only the main color. Mixing slightly different shades gives the cover a scrappy, handmade charm that many crocheters adore.
Satisfying to share online
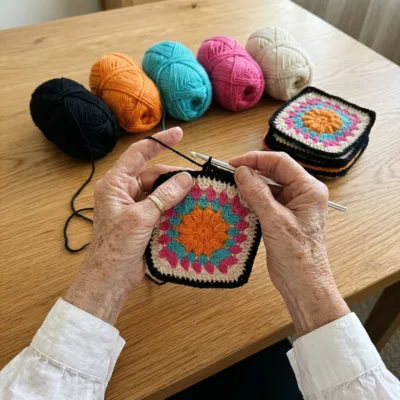
This design photographs beautifully. A pile of colorful squares or a half finished row on a wooden table makes a lovely progress photo, and the finished cover on a bed looks striking on any feed. If you share your work, I would love to see how you chose your colors.
Switch Things Up
One of the best parts of a granny square blanket is how easily you can change it to make it your own. Here are some ideas for switching things up once you know the basic square.
Change the colors
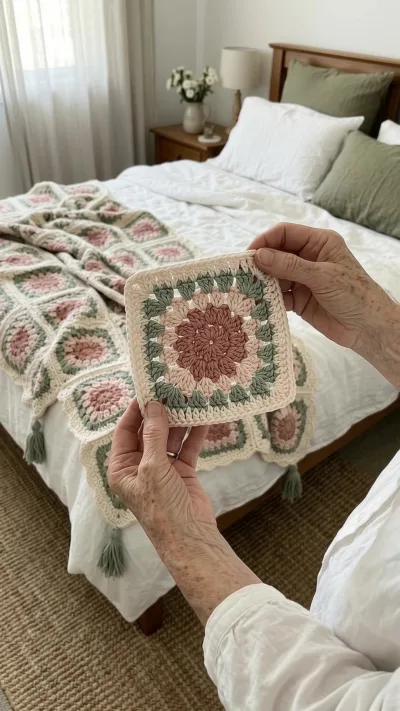
For a jewel version, use emerald, sapphire and magenta on charcoal. For a sunset version, use gold, coral and plum on deep navy. Black can also be replaced with deep navy for a slightly softer look. If you like a scrappy look, use a different color for the center of each square while keeping the frame color the same. The frame ties everything together even when the centers all differ.
Resize the cover
The pattern makes a 48 by 60 inch cover from 80 squares. To make other sizes, use these rough guides based on 6 inch squares:
- Baby or lap blanket: 5 by 6 squares, which is 30 squares and about 30 by 36 inches.
- Throw: 7 by 8 squares, which is 56 squares and about 42 by 48 inches.
- Twin bed: 8 by 10 squares as written, or 9 by 12 squares for more drop on the sides.
- Full or queen bed: 12 by 14 squares, which is 168 squares and about 72 by 84 inches.
Remember to buy extra yarn if you scale up. As a guide, add about 22 to 25 grams of yarn per additional square across all of the colors.
Try a different border
The scalloped edging is playful, but you can also finish the cover with a simple row of single crochet for a clean, modern look. A wide ribbed border worked in back post double crochet gives a thicker, more structured edge. If you do not like tassels, leave them off or replace them with small pom poms along the foot of the bed.
Use a different yarn
A soft acrylic or a cotton blend makes a lighter, more drapey cover. Wool or wool blends can make a warmer blanket, though they will need more careful washing. If you change the yarn weight, make a gauge swatch first and adjust your hook size so the squares still come out at about 6 inches.
Turn it into a different project
The same square can become cushion covers, a market tote, a table runner or a scarf. Four squares joined together make a pillow front, and a row of six makes a long, colorful runner. It is an easy way to use a few leftover squares or to make a matching accessory for the finished cover.
Materials Needed
— Main Fabric
— Tools Required
The Free Pattern
0% complete
— Granny Square (Make 80) :
— Joining :
— Edging :
Assembly Instructions
- Weave in all ends.
- Add a row of tangerine tassels along the side and foot.
- Block gently to square the edges.
Common Mistakes & How to Fix Them
Skipping the color plan. Without a layout, the colors can bunch up in one corner and the grid loses its balance. Lay everything out before joining.
Joining with tight seams. A seam that is pulled too tight makes the cover stiff and can cause rippling, so keep your joining stitches loose and even.
Making unequal squares. If some squares are 5.5 inches and others are 6.5 inches, the rows will be wavy. Measure every square against your first one.
Running out of one color. The main colors are used in large amounts, so buy extra of them at the start.
Mixing dye lots. Slight color differences become obvious across a big blanket, so buy the same lot together.
Leaving all of the ends for the end. With eighty squares and several colors each, weaving in as you go saves a huge amount of time later.
Skipping blocking. Blocking evens out the squares and shapes the scallops, and it makes a visible difference in the finished look.
Pulling the tassels too tight when attaching them. This can pucker the edge, so knot them gently.

You Might Also Like
Important Notes
Check that every square measures 6 inches before you join, since the size of the cover depends on it.
Use cotton or a soft acrylic for a cover that drapes well and is easy to wash.
Keep yarn from the same dye lot for each color.
Keep your first square as a size reference and compare new squares to it.
Weave in your ends securely, because the cover will be washed often. Split the yarn strands and weave in two directions.
Wash on a gentle cycle in cold water and lay flat to dry to keep the shape and the colors.
Wash a new cover on its own the first time, because dyes can bleed a little.
Store the finished cover folded loosely in a breathable cotton bag, away from direct sunlight, which can fade colors.
I hope this tropical burst granny square bed cover brings plenty of color and joy to your bedroom and your crochet hours. Take it one square at a time, enjoy the colors as they come together and do not rush the joining. The finished cover will be worth every stitch.
If you make it, I would love to see your color choices. Share a photo and tell me how long it took you. Happy hooking!
Crochet Abbreviations
You Ask, We Answer
How big is the finished bed cover?
The cover as written measures about 48 by 60 inches, made from 80 squares of 6 inches in a grid of 8 across and 10 down. You can add more squares across and down to make it larger.
How long does the project take?
Most people need about 40 to 60 hours from the first square to the last tassel. Each square takes roughly 20 to 30 minutes, so eighty squares is the largest part of the time. Working in batches makes it feel faster.
Is this pattern good for beginners?
Yes. It uses only chain, single crochet, double crochet and slip stitch. The challenge is mainly patience and keeping your squares the same size, not difficult stitches.
How much yarn do I need in total?
Plan on about 2150 grams of worsted weight cotton yarn, split across the colors listed in the pattern. Buy a little extra of the main colors.
Can I use a different yarn weight?
You can, but you will need to adjust the hook size and make a gauge swatch first. Aim for a finished square of about 6 inches. A heavier yarn will make a thicker, warmer cover and will use more yarn.
How do I wash and care for the cover?
Machine wash on a gentle cycle in cold water and lay flat to dry. Avoid high heat, which can shrink cotton. Wash it separately the first time in case the dyes release a little color.
Can I make the squares in different colors?
Absolutely. Keep the frame color the same and change the center colors for a scrappy look, or use a new palette throughout. Always lay out the squares before joining to check the balance.
What is the best way to join the squares?
The pattern uses a whipstitch through the back loops only, joining squares into rows first and then joining the rows. Keep the stitches loose so the seams stay flat and flexible.
Do I have to block the finished cover?
It is not required, but it is strongly recommended. Blocking evens out the squares, opens the stitches and sets the shape of the scalloped edge, which gives a more polished result.
How do I make the tassels?
Wrap yarn around a piece of cardboard about 4 inches wide, tie the top with a short piece of yarn, cut the bottom loops and then knot the bundle through an edge stitch with a crochet hook.
Can I sell items made from this pattern?
Please check the terms on the pattern page. In general, finished items you make by hand are yours to enjoy, and if you share photos online, a link back to the pattern is always appreciated.
Success!
Thanks for subscribing — check your inbox for a welcome note.
Abbreviations
- ch — chain
- sc — single crochet
- sl st — slip stitch
- st — stitch
- dc — double crochet