
Little Gorilla Amigurumi Crochet Pattern
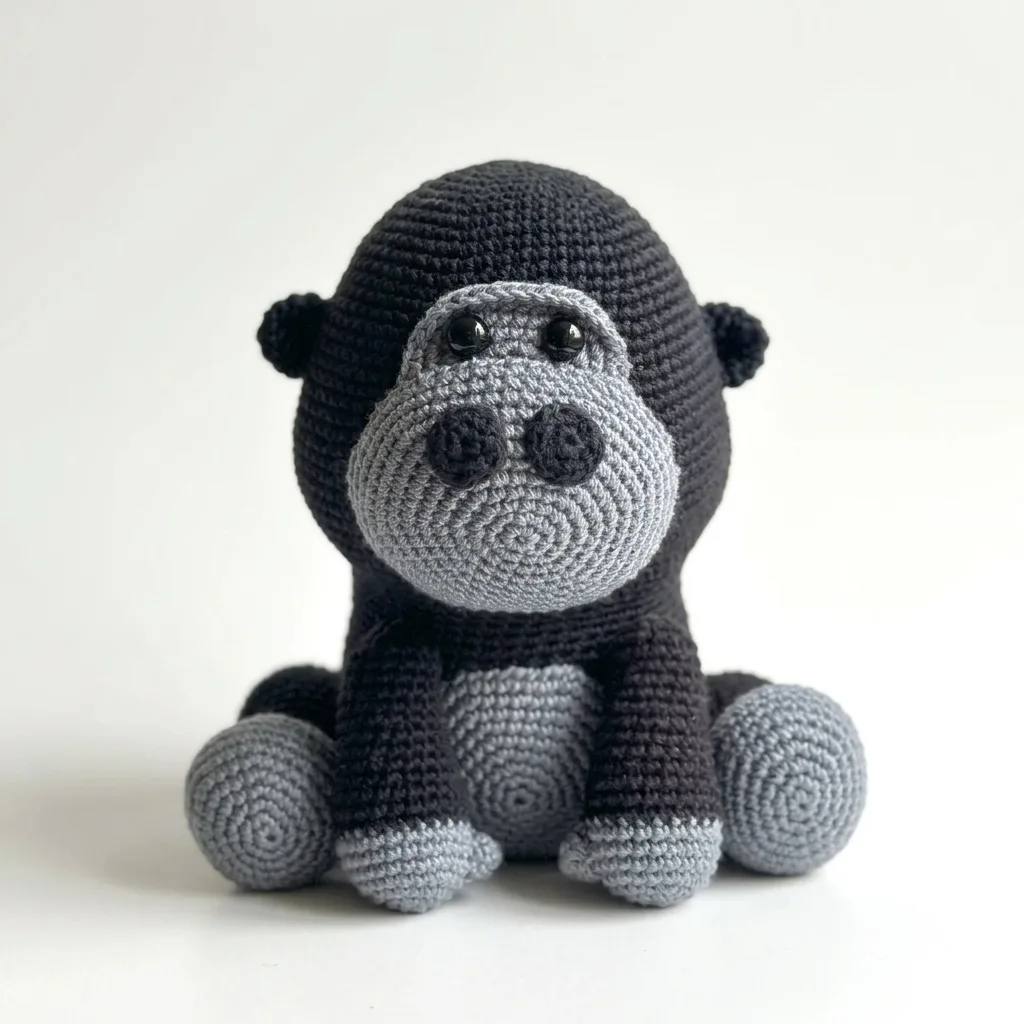
Spiral rounds, increases and decreases, plus a little sewing.
About 6 to 8 hours from the first magic ring to the last stitch.
A round dark head, shiny eyes and a soft gray face make him hard to resist.
About This Little Gorilla Amigurumi Crochet Pattern Pattern
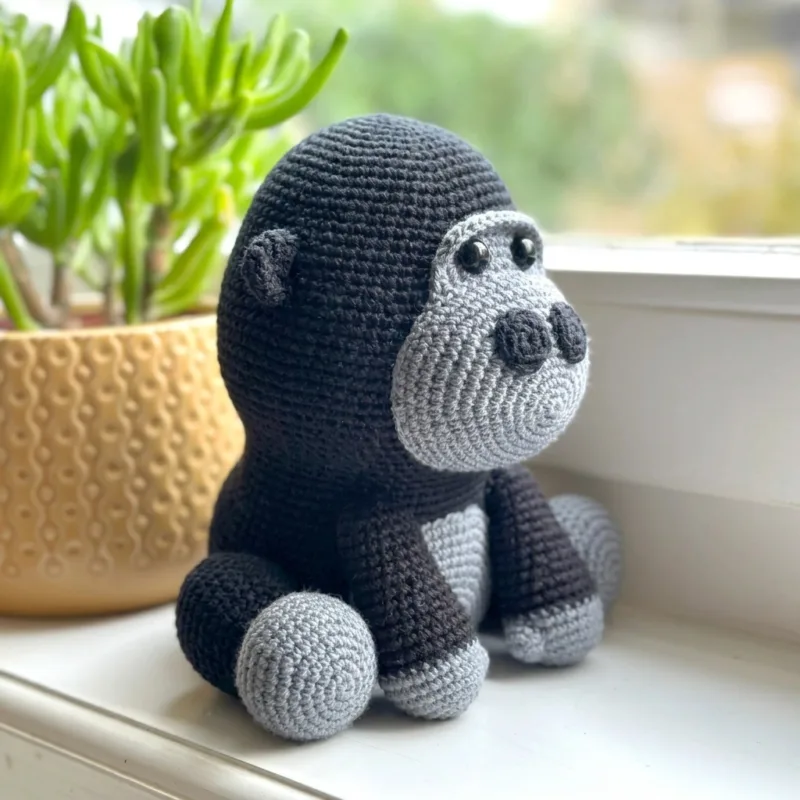
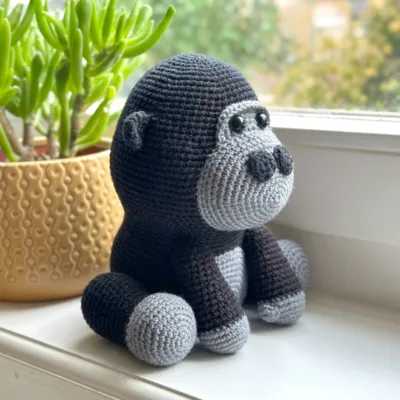
This little gorilla stands about 5 inches (13 cm) tall when worked in worsted weight yarn. He has a big round head in charcoal black, a slate gray face patch with glossy black safety eyes, and two small round ears.
The head, body, arms and legs are all worked in spiral rounds with a magic ring, then stuffed and sewn together. The pattern suits crocheters who are comfortable with increases, decreases and basic sewing.
Why You'll Love This Little Gorilla Amigurumi Crochet Pattern Pattern
I love how much personality a simple gray face patch gives this gorilla. The tight black stitches make him look sleek, and the shiny eyes give him a gentle, curious look.
He is a great gift for animal lovers, and he works up in a weekend with very little yarn.
Switch Things Up
Try a dark brown body for a mountain gorilla, or add a lighter gray patch on the back for a little silverback. You can also use thinner yarn and a smaller hook for a pocket sized friend, add a tiny knitted scarf for winter, or make the arms a little longer for a cheeky swinging look.
Materials Needed
— Main Fabric
— Tools Required
The Free Pattern
0% complete
— Head (charcoal black) :
— Face Patch (slate gray) :
— Ear (Make 2, charcoal black) :
— Body (charcoal black) :
— Arm (Make 2, charcoal black) :
— Leg (Make 2, charcoal black) :
Assembly Instructions
- Pin the face patch, with the eyes already attached, to the lower half of the stuffed head. Center it between rounds 14 and 20 and sew all the way around with slate gray yarn.
- Sew the ears flat to the sides of the head between rounds 13 and 18, keeping them level with each other.
- Sew the head to the top of the body, stitching through the last 3 rounds of the head all the way around. Add a little extra stuffing if the neck feels floppy.
- Sew the arms to the sides of the body between rounds 20 and 22, with the fists pointing down.
- Sew the legs to the front of the base, between rounds 3 and 6, so the feet point forward and he can sit.
- If you like, embroider two small nostril stitches on the lower part of the face patch with dark gray floss.
- Weave in all remaining ends.
Common Mistakes & How to Fix Them
Losing count during the long even rounds of the head: use a stitch marker in every round and tick the rounds off as you go.
Sewing the face patch on too loosely, which makes it ripple: pin it in place first and use small, even stitches all around.
Overstuffing the arms: keep them lightly filled so they stay soft and drape nicely, with a firm fist only.
Locking the eyes too late: attach the safety eyes to the patch before sewing it on, while the back is still easy to reach.

Important Notes
Work in continuous spiral rounds without joining, and move your stitch marker up every round.
Crochet with a tight tension so the fiberfill does not show through the stitches. Gauge does not need to be exact.
For babies and children under 3, embroider the eyes instead of using safety eyes.
I hope this little gorilla finds a cozy spot on your shelf or in someone's arms. Happy hooking, and I would love to hear how yours turns out!
Crochet Abbreviations
You Ask, We Answer
How big is the finished gorilla?
About 5 inches (13 cm) tall with worsted weight yarn and a 3.0 mm hook. A thicker yarn and a bigger hook will make him larger.
Can I use a different yarn weight?
Yes. Cotton or acrylic in sport, DK or worsted weight all work, as long as you pick a hook that gives tight stitches so the stuffing does not show.
Is he safe for babies and can I wash him?
For children under 3, embroider the eyes and sew every piece on very securely. Wash him gently by hand with cool water and let him air dry.
Success!
Thanks for subscribing — check your inbox for a welcome note.
Abbreviations
- mr — magic ring
- ch — chain
- sc — single crochet
- inc — increase (2 sc in the same stitch)
- dec — decrease (sc 2 stitches together)
- st(s) — stitch(es)
- x — times (repeat the instructions in the brackets that many times)