Jack-o'-Lantern Pumpkin Duo Amigurumi Crochet Pattern (Large and Mini)
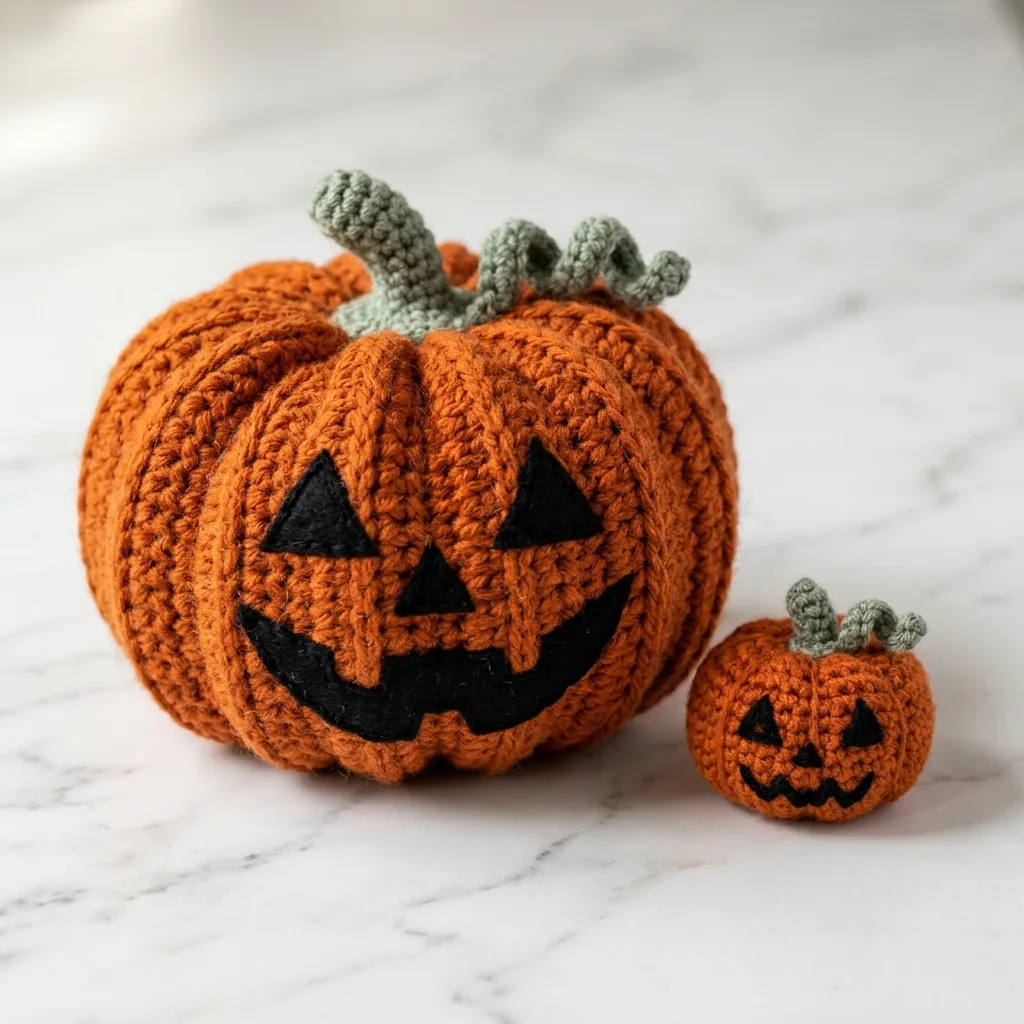
Simple ribbed rounds and basic shaping, no tricky techniques required.
Both sizes together take just 4-6 hours, perfect for a weekend of Halloween decorating.
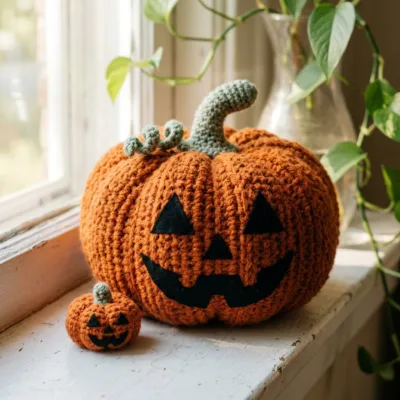
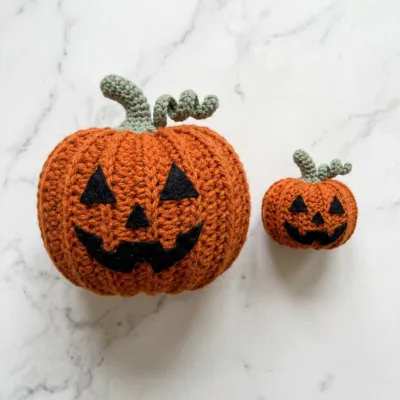
A big grinning pumpkin and its mini companion, great for a shelf or windowsill duo.
About This Jack-o'-Lantern Pumpkin Duo Amigurumi Crochet Pattern (Large and Mini) Pattern
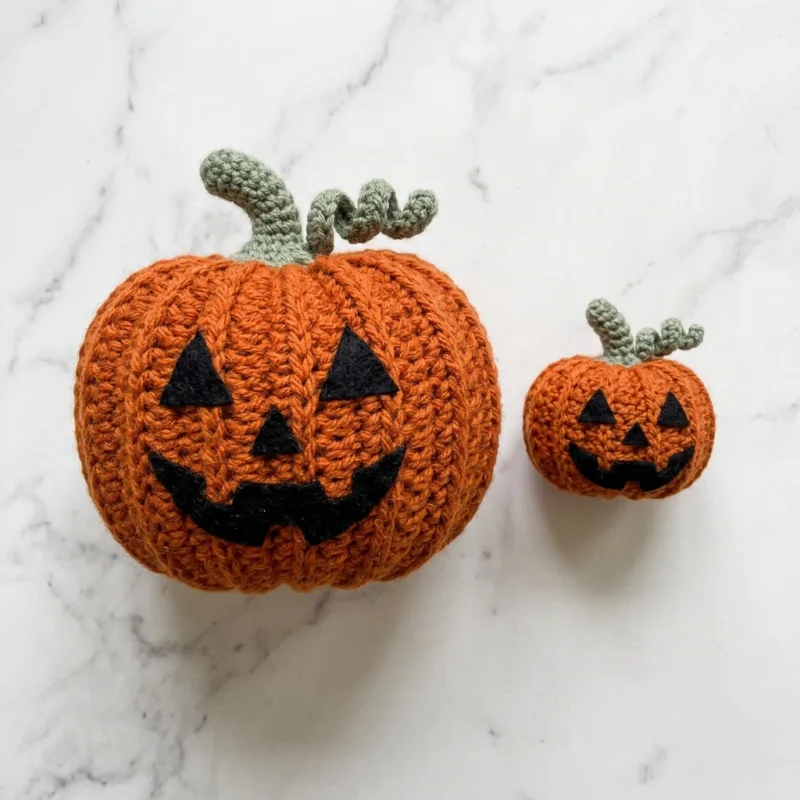
I wanted a jack-o'-lantern that actually looked ribbed like a real pumpkin, so this pattern works back-loop-only single crochet rounds to create those classic vertical grooves. The crooked little stem and triangle eyes give it that perfect spooky-but-cute look.
I included both the large pumpkin and a mini version worked the same way at a smaller gauge, so you can make a whole little pumpkin patch.
Why You'll Love This Jack-o'-Lantern Pumpkin Duo Amigurumi Crochet Pattern (Large and Mini) Pattern
The back-loop-only ribbing is such a satisfying effect for how little effort it takes — it's the same basic single crochet you already know, just worked into one loop instead of two.
I also love that the face is simple enough to customize endlessly; change the eye shapes and you've got a totally different personality every time.
Switch Things Up
Try a cream or white pumpkin for a modern neutral-toned fall display, or embroider a friendlier round-eyed face instead of the classic jagged jack-o'-lantern look. You could also make a whole graduated set in three sizes for a layered mantel display.
Materials Needed
— Main Fabric
— Tools Required
The Free Pattern
0% complete
— Large Pumpkin Body :
— Large Stem (darker green) :
— Mini Pumpkin Body :
— Mini Stem :
Assembly Instructions
- Sew the large stem into the opening at the top of the large pumpkin body, closing the gap as you stitch and curling the stem slightly as you attach it.
- Sew the mini stem into the opening at the top of the mini pumpkin body the same way.
- Using black yarn, embroider two angled triangle eyes on the front of each pumpkin, keeping them symmetrical.
- Embroider a wide jagged zigzag mouth below the eyes on each pumpkin, outlining with a second pass for a bold line.
- Weave in all remaining ends and give both pumpkins a final shape check before displaying.
Common Mistakes & How to Fix Them
Forgetting to work in back loops only, which flattens the ribbed texture that makes this pumpkin look authentic.
Underfilling the body, which lets the ribs cave in instead of standing out in relief.
Making the mouth too thin or too symmetrical — a slightly uneven, wide zigzag reads more like a classic jack-o'-lantern carving.
Sewing the stem on perfectly straight instead of at a slight curled angle, which can make it look stiff rather than charming.
You Might Also Like
Important Notes
Use stitch markers consistently at the beginning of each round to avoid losing your place across the long straight sections.
Stuff firmly and evenly before closing each pumpkin, pressing filling outward into the ribs as you go so the texture doesn't get lost once sewn shut.
Pin the face pieces in place and step back to check spacing before embroidering, since satin stitch triangles are hard to remove once worked.
These two are some of my favorite quick Halloween makes, and I hope they bring a little grin to your porch or windowsill this year. I'd love to see your pumpkin patch if you make a whole set!
Crochet Abbreviations
You Ask, We Answer
How big is the finished large pumpkin?
Using worsted weight yarn and a 4.0mm hook, the large pumpkin measures approximately 7.5 inches (19cm) tall and 9 inches (23cm) wide.
Can I make just the large or just the mini version?
Of course — both bodies are written as standalone pieces, so you can make either size on its own or a whole patch of pumpkins in mixed sizes.
What yarn weight works best for the ribbed texture?
Worsted weight (#4) shows the back-loop ribbing clearly without being bulky, but a chunkier yarn will give even more dramatic grooves if you prefer a bolder texture.
Can I skip the face for a plain decorative pumpkin?
Yes, simply skip the embroidery step entirely for a classic solid pumpkin, or add a simple curved smile instead of the full jack-o'-lantern face.
Success!
Thanks for subscribing — check your inbox for a welcome note.
Abbreviations
- mr — magic ring
- sc — single crochet
- inc — increase (2 sc in same stitch)
- dec — decrease (single crochet 2 stitches together)
- BLO — back loop only
- st(s) — stitch(es)