
Mini Jesus Amigurumi Keychain Crochet Pattern
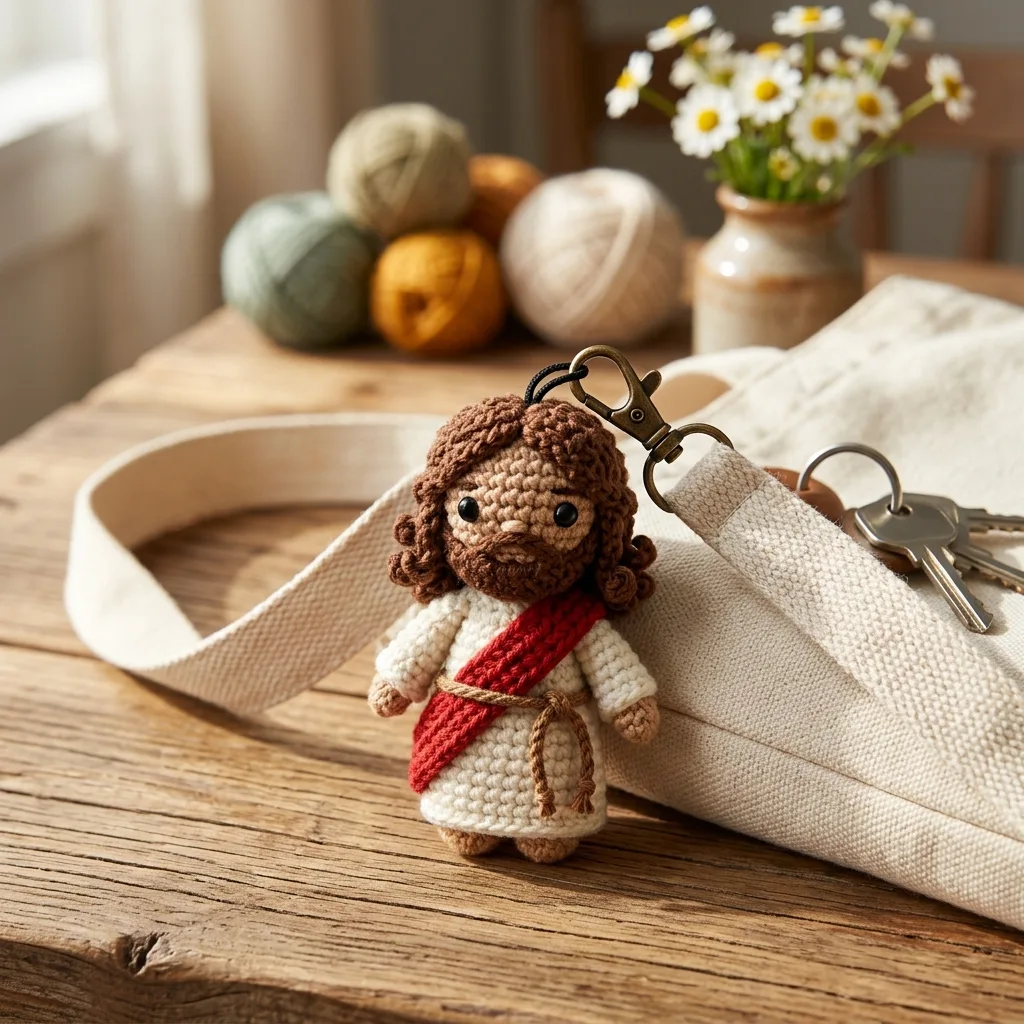
A small-scale doll using only basic single crochet shaping.
Each keychain takes just 3-4 hours, great for batch making as gifts.
A gentle, faith-filled little figure to carry on your keys or bag.
About This Mini Jesus Amigurumi Keychain Crochet Pattern Pattern
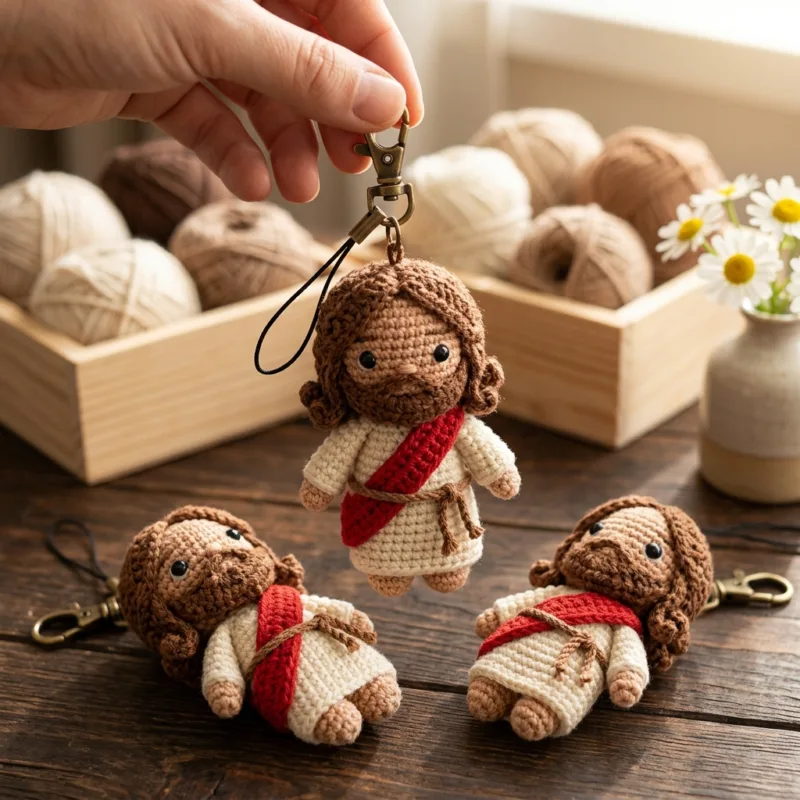
I wanted a mini version of my full-size Jesus doll that could travel with you, so this little keychain keeps all the same details, the curly hair, the gentle beard, the red sash, just scaled right down. He's worked as one continuous little body with a separate head, so he's quick enough to make a whole batch in an afternoon.
Why You'll Love This Mini Jesus Amigurumi Keychain Crochet Pattern Pattern
I love how much personality fits into such a small piece, the tiny embroidered face and the little rope belt really do all the work.
It's also such a satisfying quick make, you can finish one from start to clasp in a single sitting.
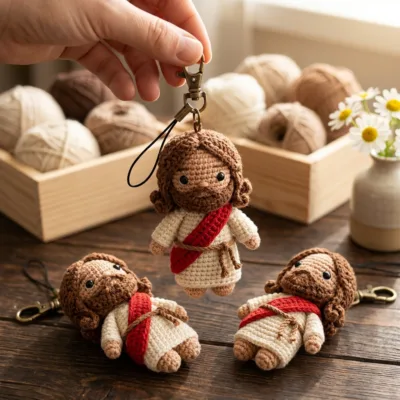
Switch Things Up
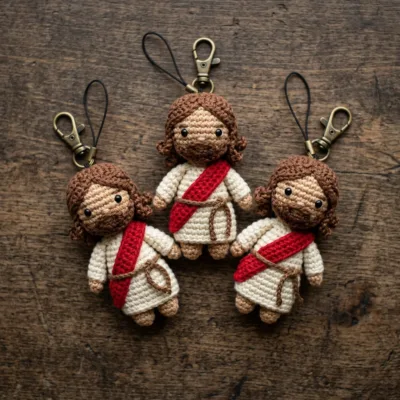
Change the sash to gold or deep purple for a different traditional look, or leave the sash off entirely for a simpler robe. You could also add a tiny crocheted halo loop behind the head for extra detail.
Materials Needed
— Main Fabric
— Tools Required
The Free Pattern
0% complete
— Head :
— Body with Robe :
— Arms (make 2) :
— Hair and Beard :
— Sash and Belt :
Assembly Instructions
- Weave in all loose ends except tails reserved for sewing.
- Attach a jump ring and keychain clasp into the open top of the body before sewing the head on, so it's anchored between the two pieces.
- Sew the head onto the body, closing the opening fully as you stitch around.
- Sew the arms to either side of the body at the shoulder line.
- Embroider the hair and beard once the head is attached.
- Drape the sash diagonally from one shoulder to the opposite hip and tack it at both ends and the center crossing point.
- Tie the twisted cord belt around the waist over the sash and robe.
- Give the finished keychain a light steam if the robe needs smoothing into shape.
Common Mistakes & How to Fix Them
Attaching the keychain clasp after the head is sewn on, which is much harder than securing it in the seam between head and body.
Overstuffing the small body, which can distort the robe's soft draping silhouette.
Making the loop stitches too tight for the hair and beard, which keeps them from looking textured and soft.
Skipping the belt, which leaves the sash looking loose instead of cinched.
You Might Also Like
Important Notes
Keep tension tight throughout since this small piece will be handled often as a keychain.
Secure the keychain loop with a few extra stitches for durability, since it carries the weight of the whole piece.
This little keychain has become one of my favorite quick gifts, there's something so sweet about carrying such a meaningful small figure with you. I hope it brings a little warmth to whoever receives one.
Crochet Abbreviations
You Ask, We Answer
How big is the finished keychain?
Using worsted weight cotton and a 2.5mm hook, the finished piece measures approximately 3.5-4 inches tall.
Can I make this without the keychain clasp, as a charm instead?
Yes, simply skip attaching the clasp and use the same loop to add a cord or ribbon instead for a bag charm or ornament.
Is this suitable for a first amigurumi project?
Yes, the whole piece uses only basic stitches, the embroidered hair and beard are the only parts that benefit from a little practice first.
Can I make a whole batch at once?
Definitely, this pattern is quick to repeat, many people crochet all the heads in one sitting and the bodies in another for an efficient workflow.
Success!
Thanks for subscribing — check your inbox for a welcome note.
Abbreviations
- mr — magic ring
- ch — chain
- sc — single crochet
- inc — increase (2 sc in same stitch)
- dec — decrease (single crochet 2 stitches together)
- st(s) — stitch(es)