Denise's Creative Corner Crochet · Kitchen
Free Crochet Patterns Handmade with Love

Cozy Raccoon in a Scarf Amigurumi Crochet Pattern
Jump to Pattern
Cozy Raccoon in a Scarf Amigurumi Crochet Pattern
6-8 Hours 0 made this
Beginner Friendly

Uses sc, inc and dec worked in continuous rounds.

Weekend Project

About 6 to 8 hours for one raccoon and scarf.

Gift Idea

A soft toy for kids, cozy shelves or any fall day.

About This Cozy Raccoon in a Scarf Amigurumi Crochet Pattern Pattern

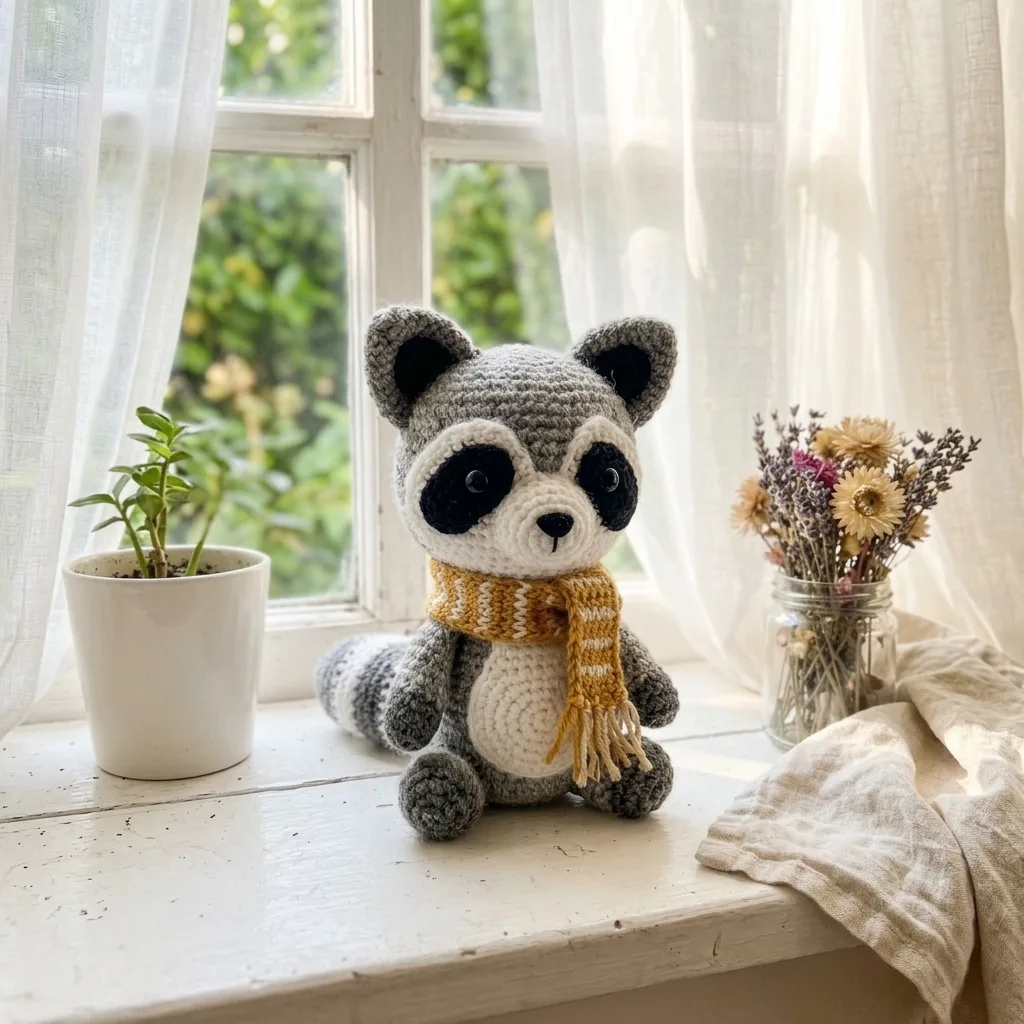
This little raccoon is about 8 inches tall, worked in gray yarn with a white muzzle and chest, black eye patches, black ear tips, black bead eyes and a fluffy tail with a white tip. It sits upright wearing a mustard yellow and white striped scarf.

It is worked in continuous rounds from the head down, then the arms, legs, ears and tail are made separately and sewn on.
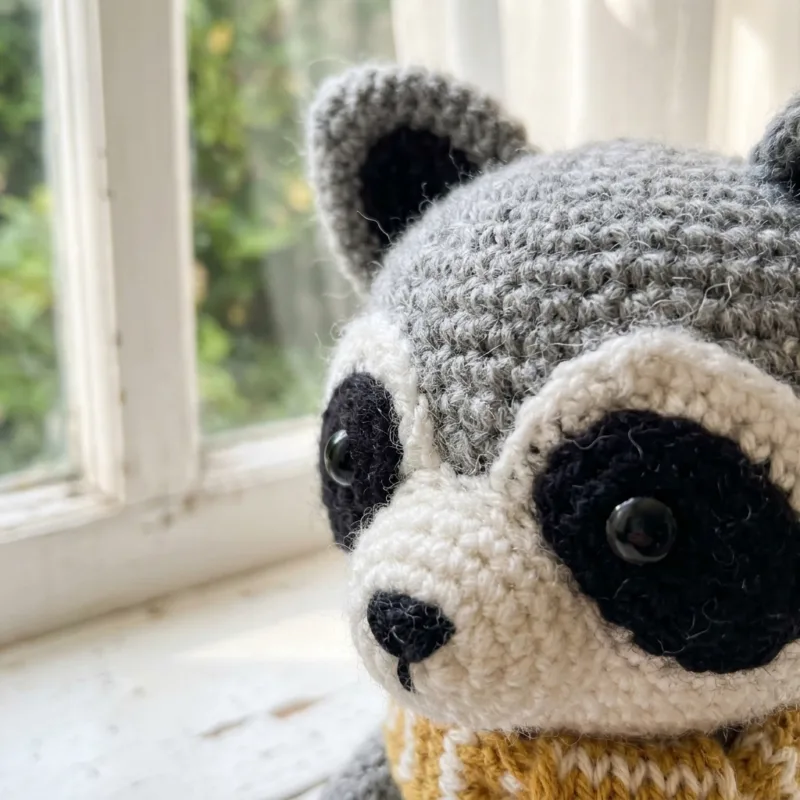
Cozy Raccoon in a Scarf Amigurumi Crochet Pattern step detail

Why You'll Love This Cozy Raccoon in a Scarf Amigurumi Crochet Pattern Pattern

The soft gray and the striped scarf make this raccoon look cozy and a little cheeky. It looks great on a windowsill or in a child's room.

Every part is a simple shape, so it is a good project if you are new to amigurumi.
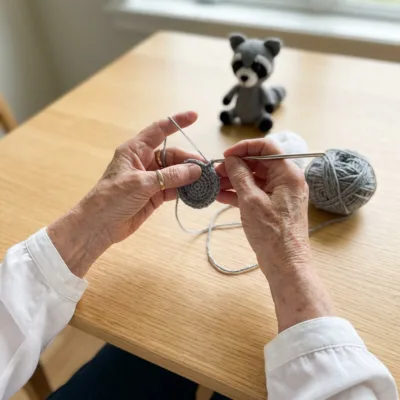

Switch Things Up

Make the raccoon in brown for a bear look, or give it a green scarf for a woodland look. Use thinner yarn and a smaller hook for a mini version.


Materials Needed

— Main Fabric

01 Worsted weight (#4) cotton yarn in 5 colors
02 Gray: about 100 g (head, body, arms, legs, ears, tail)
03 White: about 30 g (muzzle, chest, tail tip, scarf stripes)
04 Black: about 20 g (eye patches, ear tips and paws)
05 Mustard yellow: about 20 g (scarf)
06 Black safety eyes or beads: 2 (8 mm) and black yarn for the nose
07 Polyester fiberfill
08 Gauge: 5 sc rounds measure about 1 inch

— Tools Requimustard Yellow

09 3.5 mm (E) crochet hook
10 Yarn needle
11 Stitch marker
12 Scissors
13 Black thread for the nose

The Free Pattern

Beginner 6-8 Hours

0% complete

— Head (gray) :

Round 1: 6 sc in magic ring (6)
Round 2: inc in each st around (12)
Round 3: (sc, inc) x6 (18)
Round 4: (2 sc, inc) x6 (24)
Round 5: (3 sc, inc) x6 (30)
Rounds 6 to 12: sc in each st around (30)
Round 13: (3 sc, dec) x6 (24)
Insert the eyes between rounds 9 and 10, about 6 stitches apart. Start stuffing.
Round 14: (2 sc, dec) x6 (18)
Round 15: (sc, dec) x6 (12). Finish stuffing, dec around to close and fasten off.

— Muzzle (white) :

Round 1: 6 sc in magic ring (6)
Round 2: inc in each st around (12)
Round 3: (sc, inc) x6 (18)
Rounds 4 to 5: sc in each st around (18). Fasten off with a long tail and stuff lightly.
Sew the muzzle to the lower front of the head and stitch the nose on top with black thread.

— Body (gray) :

Round 1: 6 sc in magic ring (6)
Round 2: inc in each st around (12)
Round 3: (sc, inc) x6 (18)
Round 4: (2 sc, inc) x6 (24)
Rounds 5 to 10: sc in each st around (24)
Round 11: (2 sc, dec) x6 (18)
Round 12: (sc, dec) x6 (12). Stuff firmly, fasten off with a long tail for sewing.

— Ears (Make 2, gray and brown) :

Round 1: With black, 6 sc in magic ring (6)
Round 2: (sc, inc) x3 (9)
Round 3: Change to gray. (2 sc, inc) x3 (12)
Rounds 4 to 5: sc in each st around (12)
Round 6: (2 sc, dec) x3 (9). Flatten and fasten off with a tail for sewing.

— Arms and Legs (Make 4) :

Round 1: With black, 6 sc in magic ring (6)
Round 2: (sc, inc) x3 (9)
Round 3: Change to gray. sc in each st around (9)
Rounds 4 to 7: sc in each st around (9). Lightly stuff and fasten off.

— Tail (white tip and gray) :

Round 1: With white, 6 sc in magic ring (6)
Round 2: inc in each st around (12)
Round 3: Change to gray. (sc, inc) x6 (18)
Rounds 4 to 6: sc in each st around (18)
Round 7: (sc, dec) x6 (12). Stuff and fasten off.

— Scarf (mustard yellow and white) :

Row 1: With mustard yellow, ch 46. Sc in 2nd ch from hook and across (45)
Rows 2 to 3: Ch 1, turn, sc in each st across (45)
Rows 4 to 5: Change to white. Ch 1, turn, sc in each st across (45)
Rows 6 to 7: Change to mustard yellow. Ch 1, turn, sc in each st across. Fasten off (45)
Add a few fringe strands to each end of the scarf.

Assembly Instructions

  1. Sew the head to the body.
  2. Sew the ears on top of the head, slightly apart.
  3. Sew the arms to the sides and the legs to the bottom.
  4. Sew the tail to the back.
  5. Wrap the scarf around the neck and sew the ends together at the front.

Common Mistakes & How to Fix Them

Leaving gaps while stuffing, which makes the toy lumpy.

Pulling stitches loose, so the filling shows.

Sewing the ears at different heights.

Forgetting a stitch marker, which loses the round count.


Denise photo
Denise

Designing cozy, detailed crochet patterns from home, one magic ring at a time.


Important Notes

Use a stitch marker in every round.

Stuff firmly for a clean shape.

Use embroidemustard yellow eyes instead of beads for very young children.


I hope this raccoon brings a smile to your day. Happy hooking!

Crochet Abbreviations

01 ch — chain
02 sc — single crochet
03 sl st — slip stitch
04 st — stitch
05 inc — increase (2 sc in the same stitch)
06 dec — decrease (sc 2 together)

You Ask, We Answer

How big is the finished raccoon?

About 8 inches tall.

Can I use cotton yarn?

Yes. Cotton gives clear stitches, and acrylic gives a softer feel.

Is it safe for babies?

Use embroidemustard yellow eyes instead of beads for very young children.

How do I wash it?

Hand wash cold and reshape while damp.