
Halloween Pumpkin Lace Appliance Cover and Table Runner Crochet Pattern Set
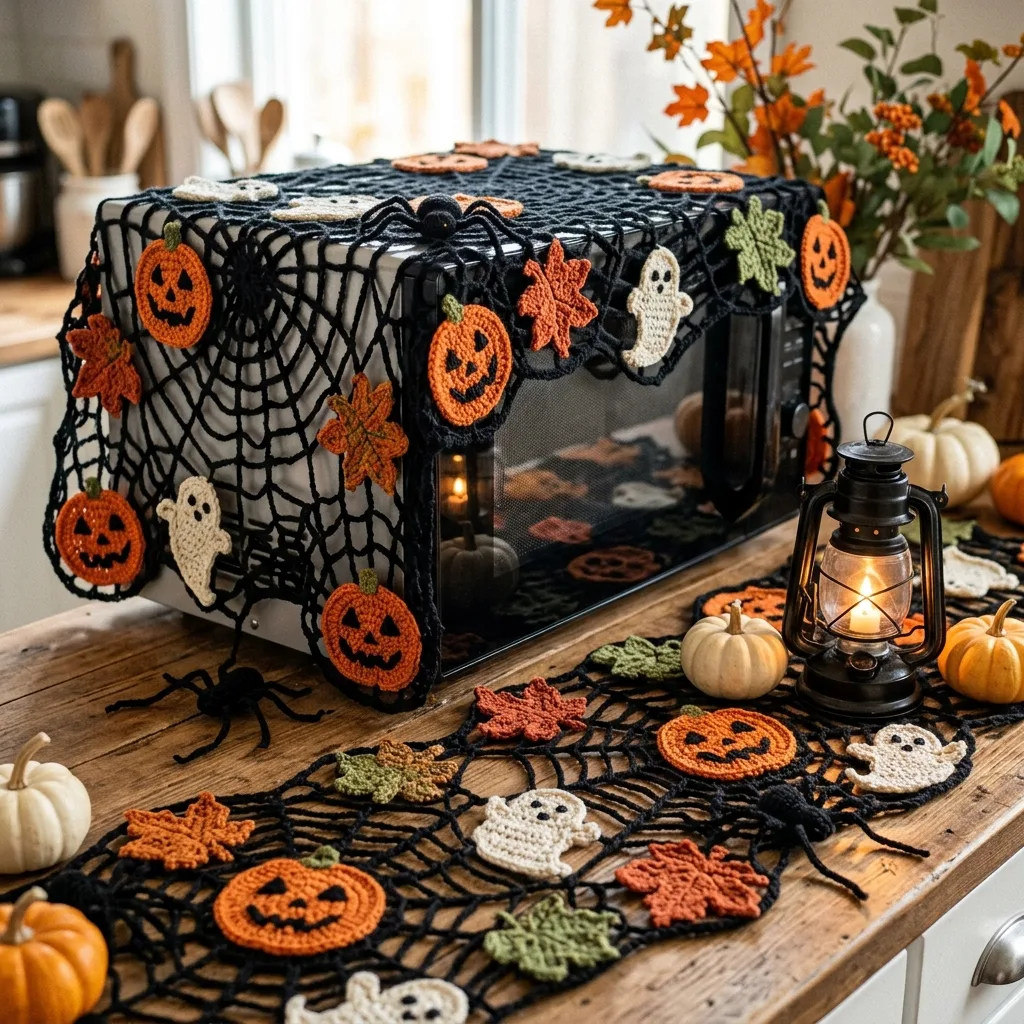
Combines filet-style mesh with dimensional pumpkin and leaf appliqués.
Budget 14-18 hours for the full matching set, cover and runner together.
Dress up your kitchen counter and table with a coordinated spooky-cute look.
About This Halloween Pumpkin Lace Appliance Cover and Table Runner Crochet Pattern Set Pattern
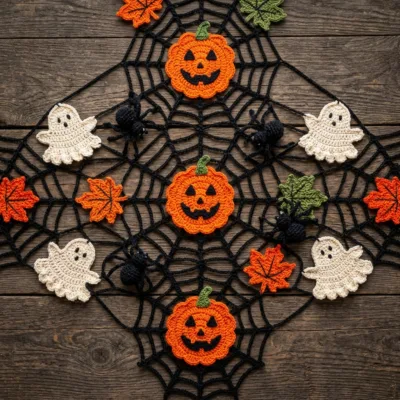
I wanted a Halloween version of my favorite lace appliance cover, so I kept the same open filet mesh and scalloped black trim, and swapped the roses for little crochet pumpkins with curled stems and a spiderweb motif tucked into one corner. The cover drapes right over a microwave or toaster, and the matching runner extends the look across the counter.
Why You'll Love This Halloween Pumpkin Lace Appliance Cover and Table Runner Crochet Pattern Set Pattern
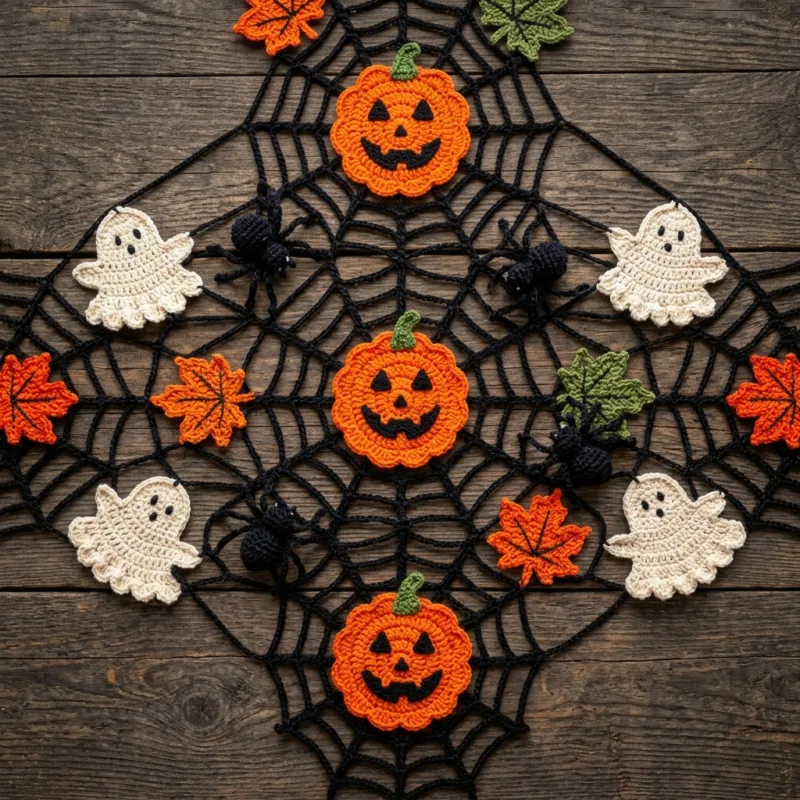
I love how the open mesh background lets the orange really pop, and the black scalloped edging ties the whole spooky-elegant look together without feeling like a kids' craft.
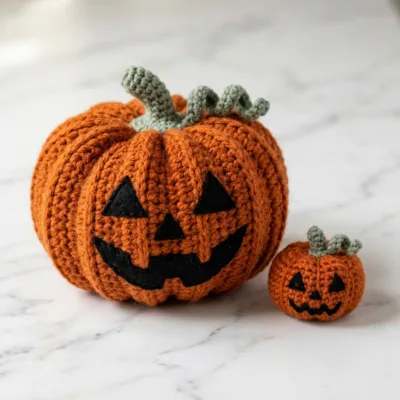
The pumpkins are quick little motifs once you've made your first one, so the whole set comes together faster than it looks.
Switch Things Up
Swap the orange for deep purple or charcoal grey for a more muted, elegant haunted-house look, or add tiny crochet bats instead of pumpkins for a different motif. You could also work the mesh background in black with orange pumpkins for a higher-contrast, bolder version.
Materials Needed
— Main Fabric
— Tools Required
The Free Pattern
0% complete
— Appliance Cover Mesh Base :
— Scalloped Edging (worked around entire cover, black) :
— Table Runner Base :
— Pumpkin Motif (make 5, orange) :
— Pumpkin Stem (make 5, moss green) :
— Spiderweb Motif (make 1, white or grey) :
Assembly Instructions
- Block both the appliance cover and the table runner flat and let them dry fully before attaching any motifs.
- Arrange three pumpkins across the appliance cover in a loose diagonal line and sew each one securely at its base, curling the stem slightly as you attach it.
- Arrange the remaining two pumpkins along the table runner, spacing them evenly.
- Tack the spiderweb motif into one corner of the appliance cover, letting it sit flat against the open mesh.
- Steam both pieces lightly from the back to help everything settle flat once all motifs are attached.
Common Mistakes & How to Fix Them
Skipping the blocking step before attaching motifs, which leaves the mesh wavy once the extra weight of the pumpkins is added.
Overstuffing the pumpkins, which makes them bulge through the open mesh instead of lying flat.
Working the filet mesh too loosely, which can distort the clean grid pattern that makes the lace look crisp.
Spacing all pumpkins in a perfectly even row instead of a slightly offset line, which reads as stiffer and less natural.
You Might Also Like
Important Notes
Keep tension consistent throughout the filet mesh rows, since any looseness becomes very visible in open lacework.
Lay out your pumpkins and the spiderweb motif on the blocked base and check the arrangement before sewing anything down permanently.
This set has become my favorite way to dress up the kitchen for October, spooky but still elegant enough to leave out all season. I'd love to see how you style your pumpkins across the set!
Crochet Abbreviations
You Ask, We Answer
What size microwave or toaster does the cover fit?
The cover is sized for a standard countertop microwave, roughly 20 inches wide, add extra mesh rows on each side if yours runs larger.
Can I make just the runner or just the cover?
Yes, both pieces are written as standalone patterns, so you can make either one on its own or the full matching set.
Can I use a different yarn weight?
A finer cotton thread will give you a more delicate, traditional lace look, just expect the finished size to run smaller and size your hook down accordingly.
Is this pattern good for someone who has only done amigurumi before?
The pumpkin motifs will feel familiar, but the filet mesh base is a new skill, it's a great first lace project if you take it slow and check your tension as you go.
Success!
Thanks for subscribing — check your inbox for a welcome note.
Abbreviations
- mr — magic ring
- ch — chain
- sc — single crochet
- dc — double crochet
- sl st — slip stitch
- inc — increase (2 sc in same stitch)
- dec — decrease (single crochet 2 stitches together)
- BLO — back loop only
- st(s) — stitch(es)