
Halloween Pumpkin Pot with Ghosts Crochet Pattern
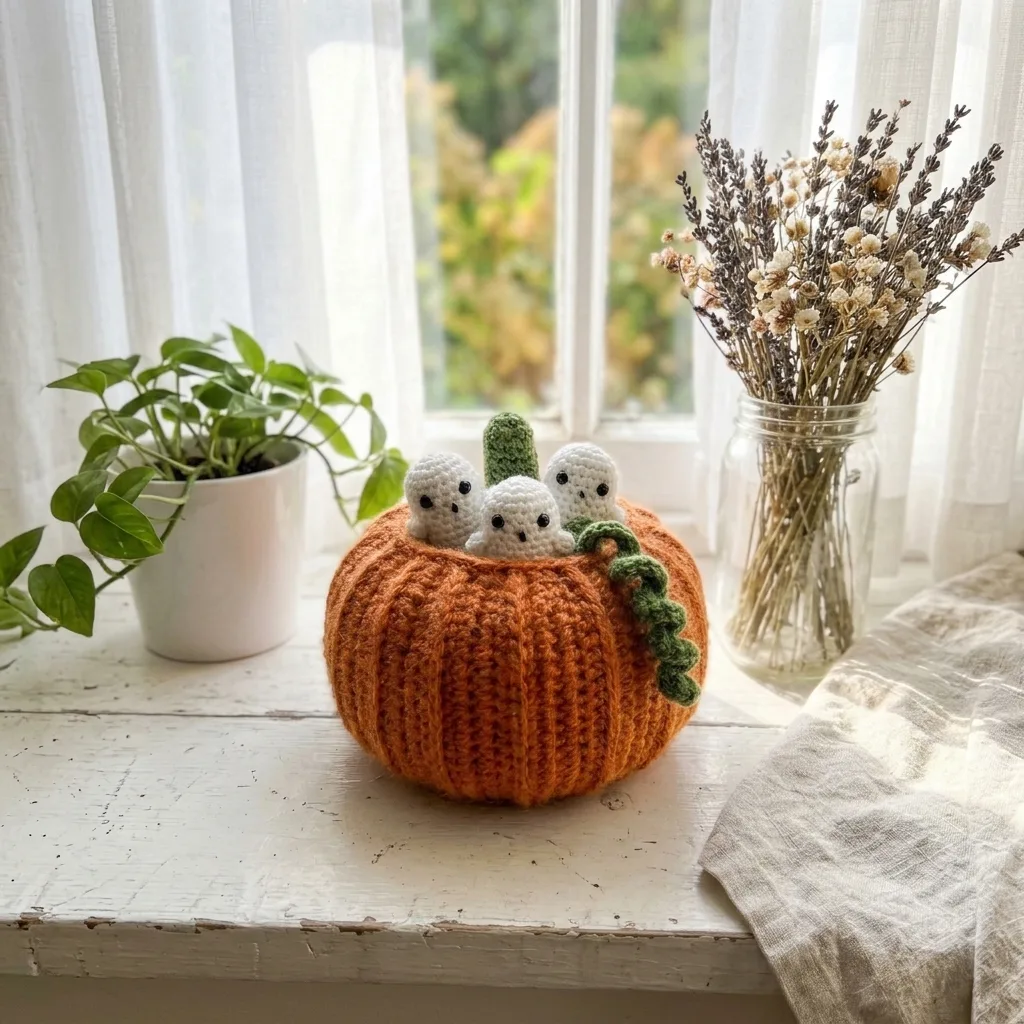
Uses only sc, inc and dec worked in the round.
About 5 to 6 hours for the pot and three ghosts.
A little pumpkin pot that sits on a shelf or windowsill all October.
About This Halloween Pumpkin Pot with Ghosts Crochet Pattern Pattern
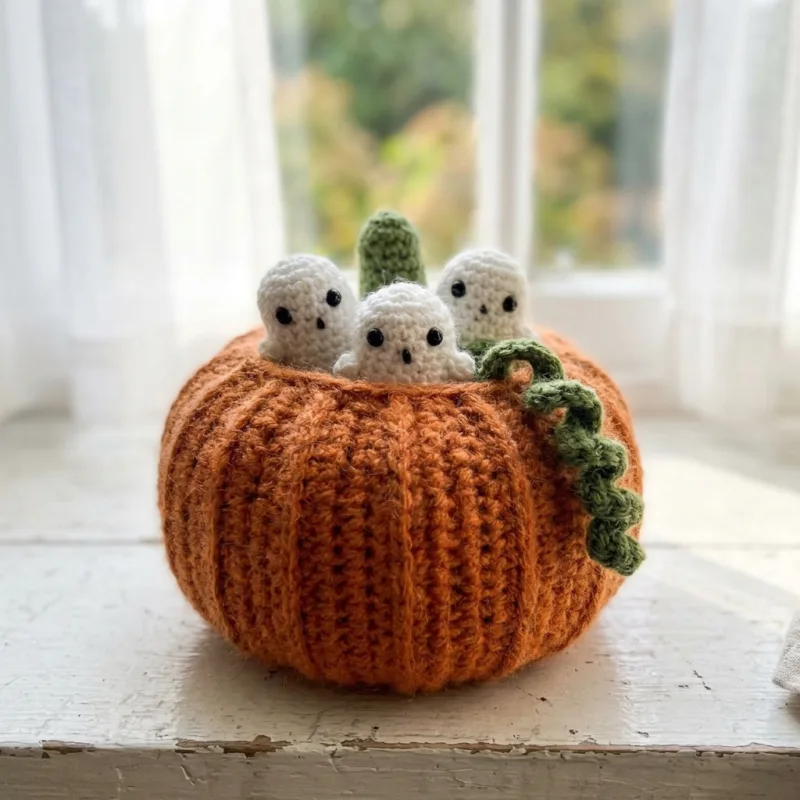
This crochet pumpkin pot is a plump orange bowl with soft ribs, a short green stem and a curly vine. Three tiny white ghosts with black bead eyes peek out of the opening, so it looks sweet instead of spooky.
Everything is worked in the round with basic stitches. The pot is about 5 inches tall and 6 inches wide, and each ghost is about 3 inches tall. Use it to hold candy, small treats or just as a shelf decoration.
Why You'll Love This Halloween Pumpkin Pot with Ghosts Crochet Pattern Pattern
I love how the ghosts look like they are having a party inside the pumpkin. The orange yarn is cheerful, and the white ghosts make a nice contrast on a windowsill.
Because the pot is open, you can fill it with candy or tuck in a small battery light for a soft glow.
Switch Things Up
Make the pumpkin in white, mustard or dusty pink for a softer fall look, or give the ghosts tiny pointed hats. Add one more ghost for a bigger group.
Materials Needed
— Main Fabric
— Tools Required
The Free Pattern
0% complete
— Pumpkin Pot (orange) :
— Pumpkin Ribs :
— Stem (green) :
— Curly Vine (green) :
— Ghost (Make 3, white) :
Assembly Instructions
- Sew the stem to one side of the pot rim and sew the curly vine next to it.
- Stuff each ghost lightly and set the three ghosts inside the pot so their heads peek out of the opening.
- Sew each ghost to the inside of the rim with a few small stitches so they stay in place.
- Weave in all ends and shape the ribs so the pumpkin looks round.
Common Mistakes & How to Fix Them
Stuffing the pot, which makes it lose its bowl shape. Leave it open.
Pulling the rib stitches too tight, which can pucker the pot. Pull gently.
Over-stuffing the ghosts, which makes the hem curl. Fill them lightly.
Skipping the stitch marker, which makes it easy to lose the round.
You Might Also Like
Important Notes
Use a smaller hook than the yarn label suggests so the stitches are tight and the pot holds its shape.
Cotton yarn gives the pot more structure than acrylic.
Use safety beads for eyes only if the ghosts will not go to a small child. Embroider the eyes instead for toys.
I hope this little pumpkin pot brings a smile to your Halloween shelf. Happy hooking!
Crochet Abbreviations
You Ask, We Answer
How big is the finished pot?
About 5 inches tall and 6 inches wide, with ghosts about 3 inches tall.
Can I use a different color?
Yes. White, mustard or dusty pink pumpkins look lovely, and the ghosts can be any light color.
Can the pot hold things?
Yes. It holds small treats, candy or a battery tea light.
How do I wash it?
Spot clean with a damp cloth and let it air dry.
Success!
Thanks for subscribing — check your inbox for a welcome note.
Abbreviations
- sc — single crochet
- inc — increase (2 sc in the same stitch)
- dec — decrease (sc 2 together)
- ch — chain
- sl st — slip stitch
- st — stitch
- sts — stitches