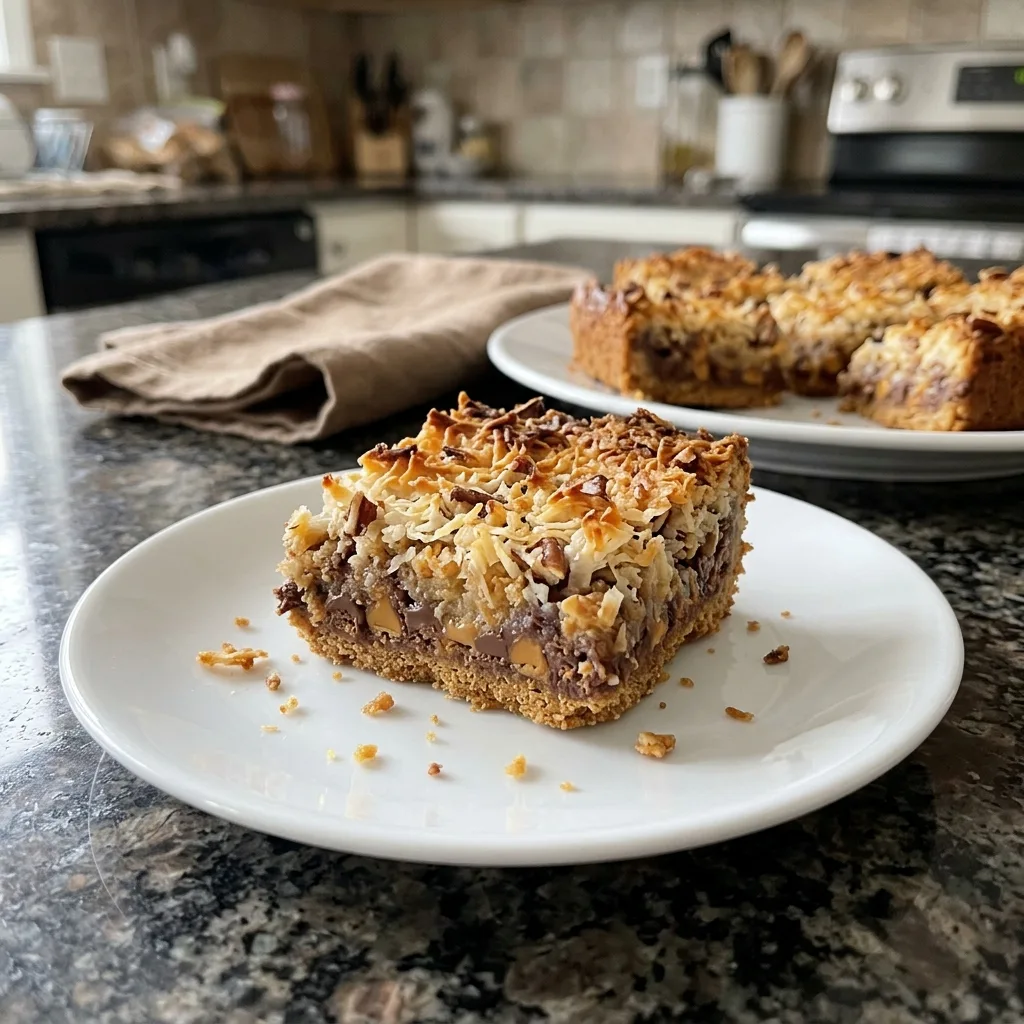
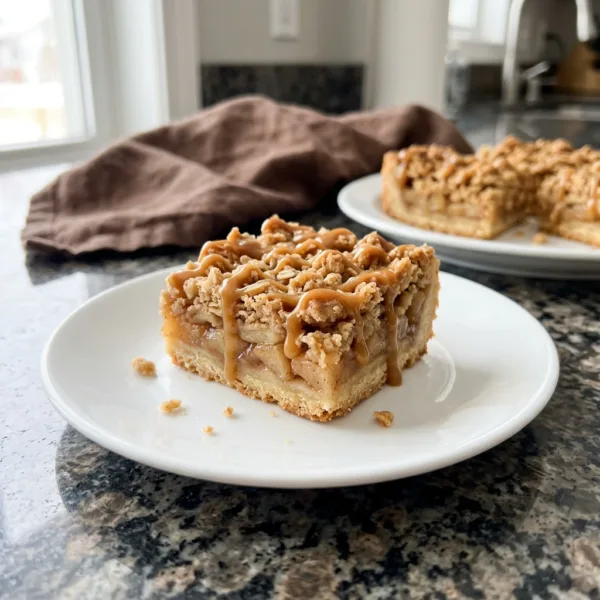
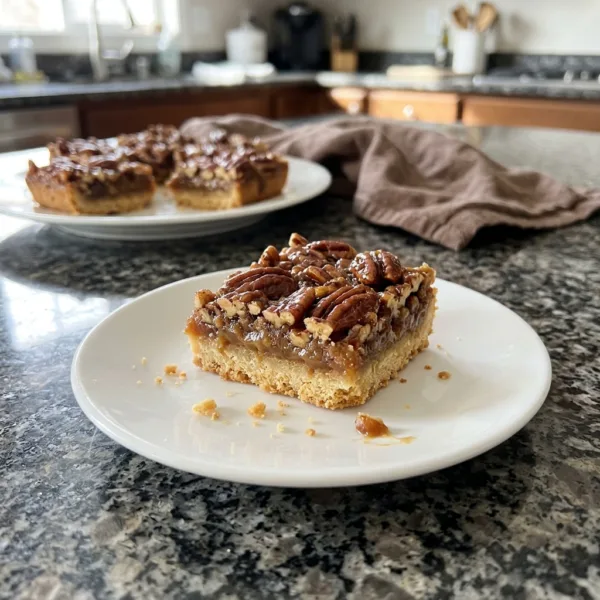
Easy seven layer magic cookie bars with a buttery graham cracker crust, chocolate and butterscotch chips, coconut, pecans and sweetened condensed milk. Only 10 minutes of prep and it makes 24 bars.
A buttery graham cracker crust is layered with chocolate chips, butterscotch chips, coconut and pecans, then topped with sweetened condensed milk and baked into chewy, gooey golden bars.
Prep10 min
Cook28 min
Total2 hr 38 min
Serves24
LevelEasy
What makes it special
Graham crumbs
Chocolate chips
Coconut
Condensed milk
Few desserts earn their name as well as seven layer magic cookie bars. You press a buttery graham cracker crust into a pan, sprinkle on chocolate chips, butterscotch chips, coconut and pecans, pour sweetened condensed milk over the top and bake. Twenty-eight minutes later, the layers melt together into a chewy, gooey, golden bar with crisp toasted edges. It looks like magic, and it takes about ten minutes of work.
These bars have been a potluck, bake sale and holiday cookie plate favorite for generations, and for good reason. They need no mixer, no eggs and no special skills. Everything goes straight into one pan, one layer at a time, and the oven does the rest. The result is sweet, salty, chewy and crunchy in every bite, with a deep chocolate and butterscotch flavor against nutty pecans and toasty coconut.
Why you will love these magic cookie bars
Only ten minutes of prep. There is no mixing bowl, no dough and no waiting for butter to soften.
No mixer needed. You only stir the crust and layer the toppings by hand.
Seven layers of flavor. Graham crust, chocolate, butterscotch, coconut, pecans and a sweet milky glaze all in a single bite.
Perfect for a crowd. One pan makes 24 bars, so it is ideal for parties, school events and holiday trays.
Easy to customize. Swap the chips, nuts or coconut to suit your family.
Keeps well. The bars stay fresh and chewy for days, so you can make them ahead.
Why are they called magic bars?
The name comes from what happens in the oven. When you pour sweetened condensed milk over the loose layers of chips, coconut and nuts, nothing seems to hold them together. As the pan bakes, the milk bubbles, turns golden at the edges and caramelizes into a sticky, chewy glue. The chips melt into the layers, the coconut toasts and the pecans roast, and everything binds into one bar, as if by magic.
They are also called seven layer bars, hello dolly bars and coconut chocolate bars, depending on the region and the recipe. The classic version has a graham cracker crust, butterscotch chips, chocolate chips, coconut, pecans and condensed milk. Some cooks add a pinch of salt or change the chips, but the method stays the same.
Ingredients you will need
The ingredient list is short and everything is easy to find at a regular grocery store. Here is a closer look at what goes in the pan:
Graham cracker crumbs: They make a sweet, buttery crust with a slight honey flavor. You can crush full sheets in a zip bag or buy ready-made crumbs.
Unsalted butter: Melted butter holds the crumbs together and makes the crust rich and crisp. Unsalted lets you control the salt.
Granulated sugar: A tablespoon adds a little crunch and sweetness to the crust.
Semisweet chocolate chips: They melt into a soft, rich layer. Milk chocolate makes a sweeter bar and dark chocolate makes a deeper one.
Butterscotch chips: They add a buttery, caramel flavor that makes these bars stand out. White chocolate chips are a good substitute.
Sweetened shredded coconut: It toasts on top and adds chew. Use sweetened coconut, not unsweetened, for the best texture.
Chopped pecans: They add crunch and a nutty flavor. Walnuts work too.
Sweetened condensed milk: This is the magic. It is thick, sweet and caramelizes in the oven. Do not use evaporated milk, which is not sweetened or thick.
How to make seven layer magic cookie bars
1. Prepare the pan. Heat the oven to 350 F (175 C). Line a 9 by 13 inch baking pan with parchment paper, leaving a little overhang on the two long sides so you can lift the bars out later.
2. Make the crust. In a bowl, stir the graham cracker crumbs, melted butter and sugar until the mixture looks like wet sand. Pour it into the pan and press it firmly and evenly across the bottom. The bottom of a measuring cup makes this easy.
3. Add the chocolate and butterscotch. Sprinkle the chocolate chips evenly over the crust, then the butterscotch chips, covering the corners.
4. Add the coconut and pecans. Scatter the shredded coconut over the chips, then add the chopped pecans in an even layer. Press down very gently with your palm so the toppings settle.
5. Pour the condensed milk. Slowly drizzle the sweetened condensed milk over the whole pan, going all the way to the edges and corners. Evenly covering the surface is what makes every bar chewy.
6. Bake. Bake for 25 to 30 minutes, until the edges are golden brown and the coconut on top is lightly toasted.
7. Cool completely. Let the pan cool on a wire rack for at least two hours. This is important, because the layers set as the bars cool. Lift the bars out with the parchment and cut into squares.
Tips for perfect magic bars
Press the crust firmly. A loose crust crumbles when you cut the bars, so pack it down well.
Pour the milk evenly. Drizzle it back and forth, and spread it gently into the corners with a spoon if needed.
Do not overbake. Pull the pan out when the edges are golden. The center will still look soft and will firm up as it cools.
Cool completely before cutting. Cutting warm bars makes the chocolate and butterscotch smear and the layers slide.
Use a sharp knife. For clean squares, run a large knife under hot water, wipe it dry and cut. Repeat between cuts.
Chill for neat edges. Thirty minutes in the refrigerator makes cutting even easier.
Variations to try
The classic recipe is wonderful as it is, but it is also a flexible template. Here are some ideas:
Peanut butter magic bars: Replace the butterscotch chips with peanut butter chips and the pecans with chopped peanuts.
White chocolate cranberry: Use white chocolate chips and dried cranberries instead of chocolate and butterscotch.
Toffee crunch: Add a half cup of toffee bits over the chips for extra crunch.
Pretzel bars: Replace the pecans with crushed pretzels for a sweet and salty bar.
Nut free: Leave out the pecans and add extra coconut or chocolate chips.
Cookie crust: Replace the graham crumbs with crushed chocolate sandwich cookies or vanilla wafers.
Dark chocolate and sea salt: Use dark chocolate chips and finish with a pinch of flaky sea salt after baking.
How to cut and serve
The secret to neat bars is patience. After baking, leave the pan on a wire rack until it reaches room temperature, which takes about two hours. If you are in a hurry, move the pan to the refrigerator for thirty minutes after it has cooled for one hour. Lift the whole block out of the pan using the parchment overhang and set it on a cutting board.
Use a long, sharp knife and cut in one downward motion, rather than sawing. For 24 bars, cut the block into four long strips and then into six pieces each. Wipe the knife between cuts for the cleanest edges. Serve the bars at room temperature on a platter, or stack them in a tin with parchment between layers.
Make ahead, storage and freezing
Magic cookie bars are one of the best make ahead desserts. Store them in an airtight container at room temperature for up to four days. Place a sheet of parchment between layers so the bars do not stick together. In very warm weather, keep them in the refrigerator, and let them sit at room temperature for ten minutes before serving.
To freeze, wrap the cooled and cut bars tightly in plastic wrap and place them in a freezer bag. They keep for up to three months. Thaw them on the counter for about thirty minutes, and they taste as good as the day they were baked. You can also freeze the uncut block and cut it after thawing.
Common mistakes to avoid
Using evaporated milk. It looks similar on the shelf but is not sweet or thick, and the bars will not set.
Skipping the parchment. The sticky caramelized milk can weld the bars to the pan.
Overbaking. Too much time makes the bars dry and hard instead of chewy.
Cutting too soon. Warm bars fall apart and smear.
Not pressing the toppings. A gentle press helps the layers stay together when you cut.
Why the crust matters
The graham cracker crust is the foundation of the whole bar, so it deserves a little care. Melted butter coats each crumb and bakes into a crisp, golden base that is sturdy enough to hold the gooey layers. The tablespoon of sugar helps it brown and adds a slight crunch.
If you want a darker, toastier crust, bake it alone for eight minutes before adding the toppings. The result has a deeper flavor and stays crisp even under the sweet milk. For a gluten free version, use gluten free graham style crackers or crushed gluten free cookies in the same amount.
Serving ideas
Magic bars are delicious on their own, but they also work as part of a bigger dessert spread. Here are some ideas:
Cookie tray: Arrange the bars with sugar cookies, brownies and fudge for a holiday platter.
With ice cream: Warm a bar for ten seconds in the microwave and top with vanilla ice cream.
With coffee: A small square is a perfect partner for a hot cup of coffee or tea.
Lunchbox treat: Wrap a bar in parchment for a sweet surprise.
Gift box: Stack the bars in a tin with ribbon for a homemade gift.
A closer look at each layer
Each layer in these bars has a job. The graham crust gives structure and a toasty, honeyed base. The chocolate chips melt into soft pools that stay creamy even after the bars cool. The butterscotch chips bring a buttery, brown sugar flavor and a slightly firmer, chewy texture. The coconut gives the top its golden color and a pleasant chew, and the pecans add crunch and a rich, earthy contrast to all that sweetness.
The sweetened condensed milk ties everything together. It seeps down between the chips and through the crust, bubbling and caramelizing as it bakes, which is why the edges turn dark golden and slightly crisp while the center stays soft. Using the full can matters, because a thin pour leaves dry spots where the layers do not stick.
Baking at high altitude and in different ovens
Ovens vary, and the bake time is a range for a reason. In an oven that runs hot, check the bars at 22 minutes, because the coconut can brown quickly. In an oven that runs cool, they may need a few extra minutes. A baking sheet on the rack below catches any drips of caramelized milk, which keeps your oven clean.
At high altitude, the bars bake the same way, because they have no leavening, but the edges may brown a little faster. Watch the coconut closely and tent the pan loosely with foil if the top is getting too dark before the edges are golden.
Bake sale and gift tips
Because magic bars are sturdy and keep well, they are ideal for bake sales and gifts. Cut them into small squares for sale, wrap each one in parchment and tie it with string. For a gift, layer the bars in a tin with parchment between each layer and add a handwritten note listing the ingredients, which is especially helpful for anyone with nut allergies.
If you are bringing them to a school event, check the rules about nuts first. You can make a nut free batch by leaving out the pecans and adding extra coconut or a few more chocolate chips, and the bars will taste just as good.
The history of magic bars
Magic cookie bars have been around since the 1960s, when a major condensed milk brand printed the recipe on its label. Home bakers loved it because it called for pantry staples and almost no skill, and the bars quickly became a staple of church cookbooks, school fairs and holiday gatherings across the country. Many families have their own version with a slightly different mix of chips and nuts, handed down on a stained recipe card.
Part of the charm is how forgiving the method is. You can adjust almost anything, from the type of chip to the kind of nut, and the sweetened condensed milk still binds it all together. That flexibility is why magic bars have stayed popular for so many decades and why they remain one of the first things many people learn to bake.
Make it a family activity
Because there is no raw egg and no mixing, this is one of the best recipes to bake with children. Kids can crush the graham crackers in a zip bag with a rolling pin, press the crust into the pan and sprinkle on each layer. The layering is satisfying to watch, and it teaches them how ingredients change in the oven.
Set out small bowls of each topping and let everyone build their own layers. Just keep adults in charge of the oven and the hot pan, and remind everyone to wait until the bars are completely cool before taking the first bite. The waiting is the hardest part.
Troubleshooting guide
If your bars come out different from what you expected, a small change usually fixes it. Bars that are too soft in the center need a few more minutes in the oven next time, or a longer cooling time before cutting. Bars with a dry, hard edge baked too long or in a pan that was too large. Bars that slide apart when cut were either cut warm or had spots where the condensed milk did not reach.
If the coconut on top browns too fast, cover the pan loosely with foil for the last ten minutes. If the crust is too crumbly, add one more tablespoon of melted butter next time. And if the bars are too sweet for your taste, use dark chocolate chips and unsweetened pecans to balance the milk, or finish with a pinch of flaky sea salt.
Frequently asked questions
Can I use a different pan? An 8 by 8 inch pan makes thicker bars and needs a few more minutes of baking. A half sheet pan makes thinner bars and needs less time.
Can I halve the recipe? Yes. Use an 8 inch square pan and the same baking time, and use half of a can of condensed milk.
Why are my bars too sticky? They were likely cut while warm or underbaked. Cool them completely and chill if needed.
Why are my bars crumbly? The crust may not have been pressed firmly, or the milk did not reach the edges.
Final thoughts
Seven layer magic cookie bars prove that a handful of simple ingredients can turn into something special. The crust is buttery, the chocolate and butterscotch are melty, the coconut is toasty and the pecans are crunchy, all held together by caramelized sweetened condensed milk.
Make a pan for your next party, holiday or a quiet afternoon, and watch it disappear. They are easy, forgiving and always a hit, and they taste like a bakery treat made in your own kitchen. Cool them completely, cut them into neat squares and enjoy the magic.
Easy seven layer magic cookie bars with a buttery graham cracker crust, chocolate and butterscotch chips, coconut, pecans and sweetened condensed milk. Only 10 minutes of prep and it makes 24 bars.
Bars Easy American
Prep
10 min
Cook
28 min
Total
2 hr 38 min
Servings
24
Ingredients 8 items
Tap to check off as you go
For the crust
For the layers
Instructions 7 steps
1
Prepare the pan
Heat the oven to 350 F (175 C). Line a 9 by 13 inch pan with parchment, leaving an overhang on the long sides.
2
Make the crust
Mix the graham crumbs, melted butter and sugar until it looks like wet sand and press it firmly and evenly into the bottom of the pan.
3
Add the chips
Sprinkle the chocolate chips evenly over the crust, then the butterscotch chips.
4
Add coconut and pecans
Scatter the coconut over the chips, then the pecans, and press down very gently.
5
Pour the milk
Drizzle the sweetened condensed milk evenly over the top, reaching the edges and corners.
6
Bake
Bake for 25 to 30 minutes until the edges are golden brown and the coconut is toasted.
7
Cool and cut
Cool completely in the pan, about 2 hours, then lift out with the parchment and cut into squares.
Nutrition per serving
Calories
235
Protein
3g
Carbs
27g
Fat
13g
Sugar
21g
Fiber
1g
Sodium
105mg
Questions, answered
Why are they called magic bars?
The sweetened condensed milk melts into the layers as they bake and turns everything into one chewy, gooey bar, like magic.
Can I leave out the nuts?
Yes. Replace the pecans with more coconut or chocolate chips.
Why did my bars fall apart?
They were probably cut while warm. Cool them completely, or chill for 30 minutes before cutting.
How do I store them?
Store covered at room temperature for up to 4 days, or freeze for up to 3 months.
Recipe by
Denise
Home cook, baker and serial recipe tweaker. I share the dishes my family asks for most, written step by step so they turn out right in your kitchen too.