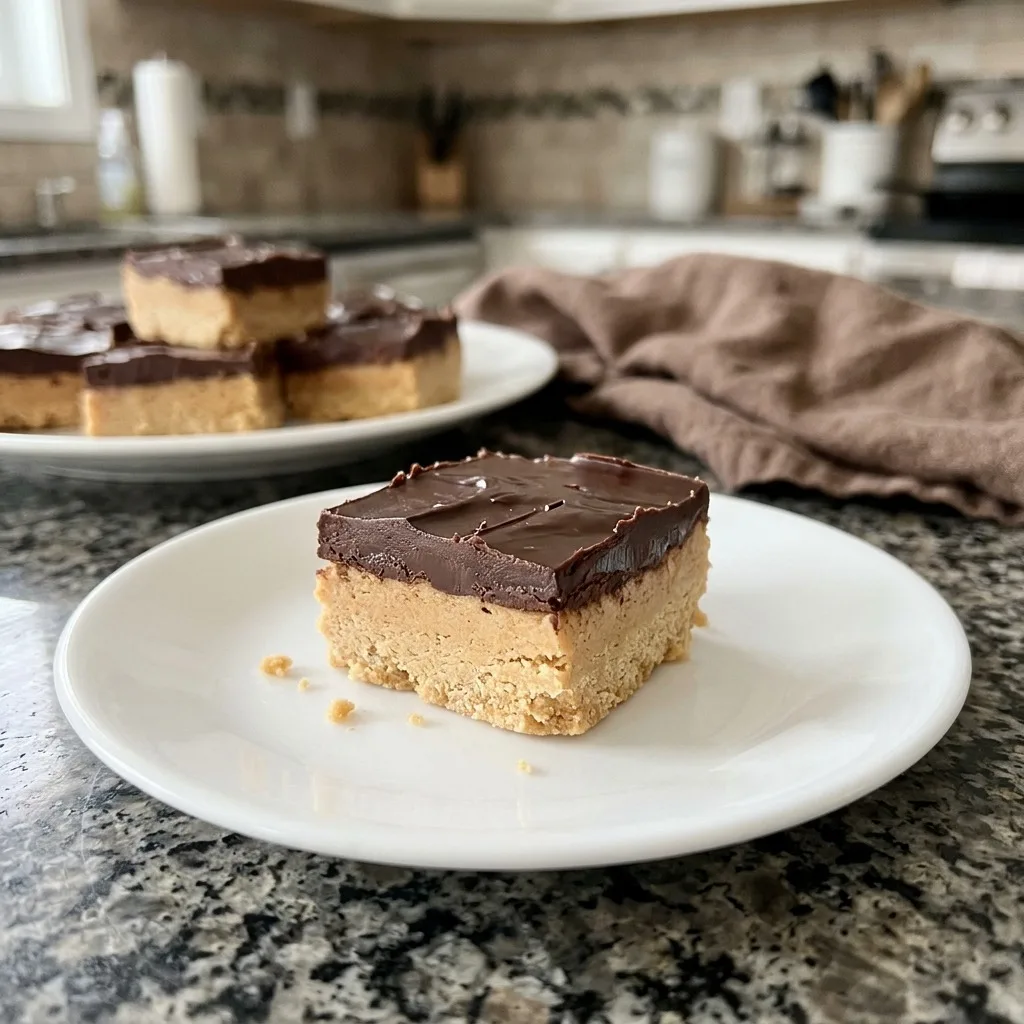
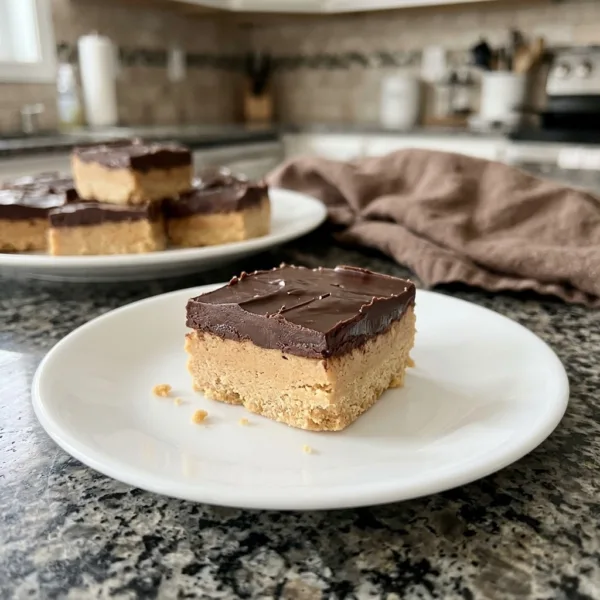
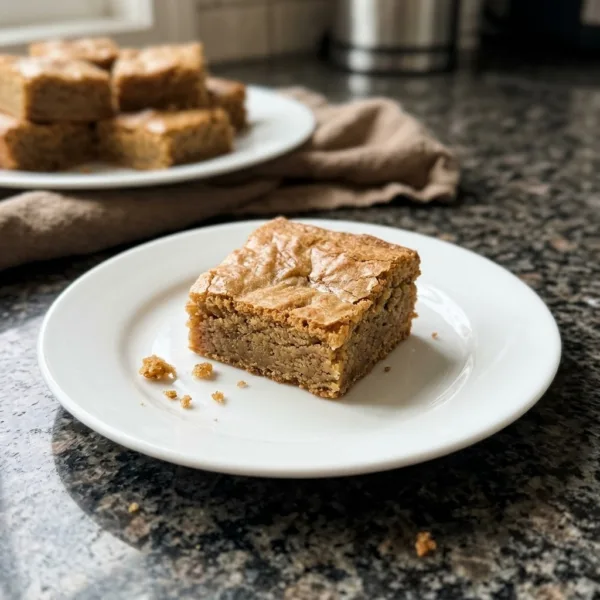
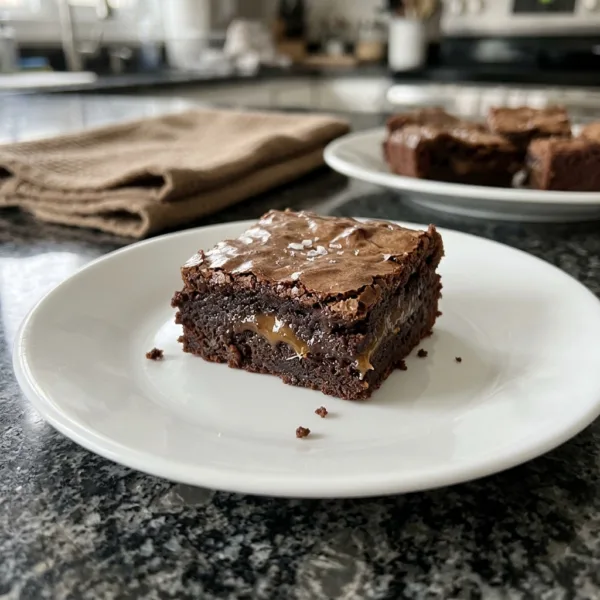
A thick, creamy peanut butter base topped with smooth chocolate, no baking needed and ready to slice after a short chill.
Prep15 min
Cook5 min
Total2 hr 20 min
Serves24
LevelEasy
What makes it special
Butter
Peanut butter
Chocolate
Graham crackers
If you love the classic combination of peanut butter and chocolate, these chocolate peanut butter bars are about to become your new favorite dessert. A thick, creamy peanut butter base with a sweet graham cracker crunch sits under a smooth, glossy layer of melted chocolate. There is no oven, no mixer and no fuss, only a bowl, a spoon and a short chill in the refrigerator.
They taste like a peanut butter cup in bar form, and they are one of those desserts that disappears fast at a party, a school bake sale or a family dinner. If you have ever wanted a treat that takes fifteen minutes of hands on time and looks like it came from a bakery, this is the recipe to try.
Why you will love these chocolate peanut butter bars
No baking at all. You melt, stir, press and chill, so the oven stays off, which is perfect for hot summer days.
Only a few ingredients. Butter, peanut butter, graham crackers, powdered sugar and chocolate chips are all you need, and you probably already have them.
Rich and creamy flavor. The base is soft and dense, almost like a fudge, and the chocolate layer snaps when you bite into it.
Makes a big batch. The recipe makes twenty four bars, so it is ideal for a crowd, a potluck or a bake sale.
Easy for kids to help. Stirring and pressing are simple jobs, so children can join in.
Make ahead friendly. The bars keep well in the refrigerator and freezer, so you can make them days before an event.
What are chocolate peanut butter bars?
These bars are a no bake dessert in the same family as buckeyes and peanut butter cups. The base is a mixture of melted butter, peanut butter, powdered sugar and graham cracker crumbs. It is pressed into a pan and topped with melted chocolate. Once chilled, the base turns thick and chewy, and the chocolate sets into a smooth, firm layer that you can slice into neat squares.
Some people call them peanut butter bars, others call them buckeye bars, and in some families they have a name that has been passed down for generations. Whatever you call them, they are rich, sweet and deeply satisfying.
Ingredient notes and smart substitutions
With so few ingredients, each one plays an important role. Here is what to know.
Unsalted butter
Melted butter binds the base and adds a buttery flavor. Use unsalted butter so you can control the salt, and let the melted butter cool for a couple of minutes before stirring in the other ingredients, so it does not make the peanut butter too runny. If you only have salted butter, skip the added salt.
Graham cracker crumbs
Graham cracker crumbs give the base a light toasty flavor and a bit of structure. You can buy them already crushed, or crush whole sheets in a food processor or in a zip bag with a rolling pin. You need about two cups, or roughly sixteen full sheets. For a slightly different flavor, you can use crushed digestive biscuits or vanilla wafers.
Powdered sugar
Powdered sugar sweetens the base and gives it a smooth, fudgy texture, because it dissolves without grit. Do not substitute granulated sugar. If your powdered sugar is lumpy, sift it first so the base is even.
Creamy peanut butter
Use a regular creamy peanut butter, such as the shelf stable kind that does not separate. Natural peanut butter, which has a layer of oil on top, makes the base greasy and soft, so it is not a good choice here. Crunchy peanut butter works if you like some texture.
Vanilla extract and salt
A teaspoon of vanilla and a pinch of salt balance the sweetness and round out the flavor. They are small additions that make the bars taste more like a bakery treat.
Semi-sweet chocolate chips
Semi-sweet chocolate chips give the topping a balanced chocolate flavor that is not too sweet against the rich base. Good quality chips melt smoothly. You can use milk chocolate for a sweeter topping, or dark chocolate for a bolder taste.
Butter for the topping
A couple of tablespoons of butter melted with the chocolate give the topping a glossy finish and keep it soft enough to cut without cracking.
Flaky sea salt
A pinch of flaky sea salt on top is optional, but it makes the chocolate taste deeper and adds a nice crunch.
Why this no bake method works
The base of these bars needs no heat because of a simple bit of food science. Powdered sugar contains a little cornstarch and dissolves instantly into the melted butter and peanut butter, creating a thick paste that sets firm when cold. Graham cracker crumbs soak up the fat and give structure, a little like the flour in a cookie dough. When the pan chills, the butter solidifies and holds everything together, and the result is dense and fudgy instead of crumbly. Because nothing is baked, you also avoid any risk of dry edges or overcooked centers.
How to cut perfectly neat bars
A clean slice is what makes homemade bars look professional. First, make sure the bars are fully chilled so the base is firm. Then let the slab sit at room temperature for about ten minutes, which softens the chocolate just enough to avoid shattering. Use a long, sharp chef’s knife, and press straight down instead of sawing. Wipe the blade on a damp towel after each cut, or dip it in hot water and dry it, so crumbs and chocolate do not drag across the next bar. Cut the slab in half lengthwise first, then cut each half into twelve squares for evenly sized bars.
Serving ideas for parties and holidays
These bars are easy to dress up for any occasion. For a birthday, press colorful sprinkles into the chocolate before it sets. For Christmas, sprinkle crushed candy canes or red and green sprinkles on top. For a summer picnic, keep them in a cooler and serve them cold, since they stay firmer that way. For a bake sale, wrap individual bars in parchment and tie them with twine. You can also cut them into smaller bite sized squares and serve them in mini cupcake liners on a dessert table, which makes them look like fancy candies.
Ingredient swaps if your pantry is short
If you do not have graham crackers, use crushed vanilla wafers, shortbread cookies or even plain digestive biscuits in the same amount. If you are out of chocolate chips, chop a chocolate bar into small pieces and melt it the same way. If you have no powdered sugar, blend granulated sugar in a high speed blender for a minute until it becomes a fine powder, though a store bought powder gives the smoothest result. You can replace the butter in the topping with a teaspoon of coconut oil for an extra glossy finish that sets slightly firmer.
Equipment you will need
A nine by thirteen inch baking pan, a large mixing bowl, a spatula or wooden spoon, a microwave safe bowl and parchment paper are all the equipment you need. A flat bottomed measuring cup helps you press the base firmly into the pan. A sharp chef’s knife makes the cleanest cuts.
How to make chocolate peanut butter bars, step by step
Step 1: Line the pan
Line a nine by thirteen inch pan with parchment paper, leaving about two inches of overhang on the long sides. These handles will help you lift the whole slab out of the pan later for clean slicing.
Step 2: Mix the peanut butter base
In a large bowl, combine the melted butter, graham cracker crumbs, powdered sugar, peanut butter, vanilla and salt. Stir with a sturdy spatula until the mixture is thick, even and no dry pockets remain. It will look like a very thick cookie dough. If it seems crumbly, stir in a tablespoon of melted butter.
Step 3: Press the base into the pan
Transfer the mixture to the pan and press it down firmly into an even layer, going all the way into the corners. Use the back of a spoon first and then a flat measuring cup for a smooth surface. Pressing hard is important, because a loosely packed base crumbles when sliced.
Step 4: Melt the chocolate
Put the chocolate chips and the butter in a microwave safe bowl. Microwave in thirty second bursts, stirring after each one, until the chocolate is smooth. This usually takes about ninety seconds in total. Stop heating when a few small lumps remain and stir until they melt, since chocolate scorches easily.
Step 5: Spread the chocolate
Pour the melted chocolate over the base and spread it with an offset spatula or the back of a spoon all the way to the edges. Tap the pan gently on the counter to level the surface. Sprinkle with flaky sea salt if you like.
Step 6: Chill
Refrigerate the pan for at least two hours, until the chocolate is completely firm. If you are short on time, forty five minutes in the freezer works, though the base will be slightly firmer.
Step 7: Slice and serve
Use the parchment handles to lift the slab onto a cutting board. Let it sit at room temperature for about ten minutes, so the chocolate does not shatter. Cut it into twenty four bars with a sharp knife, wiping the blade clean between cuts.
Timing guide
Prep: about 15 minutes
Melting the chocolate: about 5 minutes
Chilling: 2 hours
Total: about 2 hours 20 minutes, with only 20 minutes of hands on work
How to fix common problems
The base is crumbly. Stir in one or two tablespoons of melted butter or peanut butter until it holds together when pressed.
The base is too soft. You may have used natural peanut butter or warm butter. Add a few tablespoons of graham crumbs or powdered sugar and chill longer.
The chocolate cracks when cutting. The slab is too cold. Let it sit for ten minutes at room temperature, and warm the knife under hot water between cuts.
The chocolate is grainy. It was overheated. Melt it in short bursts and stir between each.
The chocolate peels off the base. The base was too cold when the chocolate went on. Pour the chocolate while the base is at room temperature.
The bars are greasy. The peanut butter was too oily. Use a shelf stable brand and drain any oil from a natural jar if you must use it.
Tips for the best chocolate peanut butter bars
Press firmly. A tightly packed base makes clean, sturdy bars.
Cool the melted butter slightly. Hot butter can melt the peanut butter into a runny mess.
Use parchment. It makes lifting and cutting easy and keeps the pan clean.
Warm the knife. Running it under hot water and drying it gives a smooth, clean cut.
Add a pinch of salt on top. The salt makes the chocolate and peanut butter flavors pop.
Chill fully before cutting. A soft center makes messy bars.
Cut small. These bars are rich, so small squares are plenty, and you get more servings.
Variations to try
Crunchy bars. Use crunchy peanut butter, or stir a half cup of chopped peanuts into the base.
Extra chocolate. Mix a half cup of mini chocolate chips into the base for little pockets of chocolate.
Pretzel crunch. Replace half of the graham crumbs with crushed pretzels for a sweet and salty bite.
Cookie crust. Use crushed chocolate sandwich cookies instead of graham crackers for a darker base.
Peanut butter swirl. Drizzle a few spoonfuls of warm peanut butter over the chocolate and swirl it with a toothpick.
Dark chocolate. Use dark chocolate chips for a less sweet topping.
Candy topping. Sprinkle chopped peanut butter cups or mini candy pieces on the chocolate before it sets.
Almond butter bars. Swap the peanut butter for almond butter if you prefer.
What to serve with chocolate peanut butter bars
These bars are rich, so they pair well with something cold and plain. A tall glass of cold milk is the classic partner. A cup of hot coffee balances the sweetness, and a scoop of vanilla ice cream turns a bar into a full dessert. For a party platter, arrange them with fresh strawberries, banana slices and other bars like lemon squares or brownies for a mix of flavors and colors.
Storing and freezing leftovers
Store the bars in an airtight container in the refrigerator for up to one week, with parchment paper between layers so they do not stick. They can sit at room temperature for a couple of hours at a party, but they are best kept cold, because the base softens as it warms.
To freeze, wrap the whole slab or individual bars tightly in plastic wrap, place them in a freezer bag and freeze for up to three months. Thaw them in the refrigerator for about an hour before serving. Frozen bars are also a delicious treat straight from the freezer on a hot day.
Make ahead and gifting tips
These bars are ideal for making ahead. You can prepare the whole pan two or three days before an event and keep it in the refrigerator. Cut it on the day you serve it for the cleanest edges. For gifting, stack a few bars in a tin or a box lined with parchment, tie it with a ribbon and keep it cool until the gift is delivered.
Common mistakes to avoid
Using natural peanut butter. It makes the base oily and soft.
Not pressing firmly. A loose base will fall apart.
Overheating the chocolate. It turns grainy and dull.
Cutting too soon. A soft center makes messy squares.
Cutting straight from the refrigerator. The chocolate may shatter, so let it sit for a few minutes.
Skipping the parchment. The bars will stick, and lifting them out will be hard.
A note on nutrition
One bar has about 290 calories, with around 4 grams of protein, 27 grams of carbohydrates and 19 grams of fat. These are a rich dessert meant to be enjoyed in small squares, and the recipe makes enough for a crowd. The values are estimates and will vary based on the brands you use and how large you cut the bars.
Frequently asked questions
Can I use crunchy peanut butter?
Yes. It adds texture, and the bars hold together just as well.
Can I use natural peanut butter?
It is not recommended. Natural peanut butter separates and makes the base greasy and soft. A regular creamy peanut butter gives the best results.
Can I make these gluten free?
Yes. Use gluten free graham crackers or gluten free cookie crumbs, and check that your chocolate chips and peanut butter are gluten free.
Can I use milk chocolate?
Yes. Milk chocolate gives a sweeter and softer topping, so chill the bars a little longer before cutting.
Do I have to chill them for two hours?
Two hours gives the best texture. In a pinch, forty five minutes in the freezer sets the chocolate enough to cut.
Can I make a smaller batch?
Yes. Halve the recipe and use an eight inch square pan. The method is the same.
How do I get the chocolate smooth on top?
Pour the chocolate in the center, spread it gently to the edges with an offset spatula and tap the pan on the counter to level it.
Can I add nuts?
Absolutely. Chopped peanuts in the base or sprinkled on the chocolate add a lovely crunch.
Why are my bars falling apart?
The base may not have been pressed firmly enough or needs a little more butter. Press hard, and chill the bars fully before cutting.
Can I make these dairy free?
Use a plant based butter and dairy free chocolate chips. The bars will taste just as good.
These chocolate peanut butter bars prove that a simple dessert can feel extra special. They take almost no effort, they feed a crowd, and they taste like a favorite candy bar. Make a pan, keep it cold, and watch the squares disappear.
No-bake chocolate peanut butter bars with a thick creamy peanut butter base and a glossy chocolate topping. Easy and serves 24.
Bars Easy American
Prep
15 min
Cook
5 min
Total
2 hr 20 min
Servings
24
Ingredients 9 items
Tap to check off as you go
For the peanut butter base
For the chocolate topping
Instructions 7 steps
1
Line the pan
Line a 9 by 13 inch pan with parchment paper, leaving an overhang on the long sides.
2
Mix the base
Stir the melted butter, graham cracker crumbs, powdered sugar, peanut butter, vanilla and salt until a thick, even dough forms.
3
Press into the pan
Press the mixture firmly and evenly into the pan with the back of a spoon or a flat measuring cup.
4
Melt the chocolate
Melt the chocolate chips and butter in the microwave in 30 second bursts, stirring each time, until smooth.
5
Top the bars
Pour the chocolate over the base and spread it right to the edges. Add a pinch of flaky sea salt if you like.
6
Chill
Chill in the fridge for 2 hours until the chocolate is firm.
7
Slice
Lift out with the parchment, let sit 10 minutes and cut into 24 bars with a sharp knife wiped clean between cuts.
Nutrition per serving
Calories
290
Protein
4g
Carbs
27g
Fat
19g
Sugar
21g
Fiber
2g
Sodium
140mg
Questions, answered
Can I use crunchy peanut butter?
Yes. The bars will have a little texture, and they hold together just as well.
Can I use natural peanut butter?
Regular creamy peanut butter works best. Natural peanut butter can leave the base oily and too soft.
How do I store them?
Keep in an airtight container in the fridge up to 1 week, or freeze up to 3 months.
Can I use milk chocolate?
Yes. Milk chocolate makes a sweeter topping and a softer set, so chill them a little longer.
Recipe by
Denise
Home cook, baker and serial recipe tweaker. I share the dishes my family asks for most, written step by step so they turn out right in your kitchen too.