
Large Jesus Panel Granny Square Bed Cover Crochet Pattern
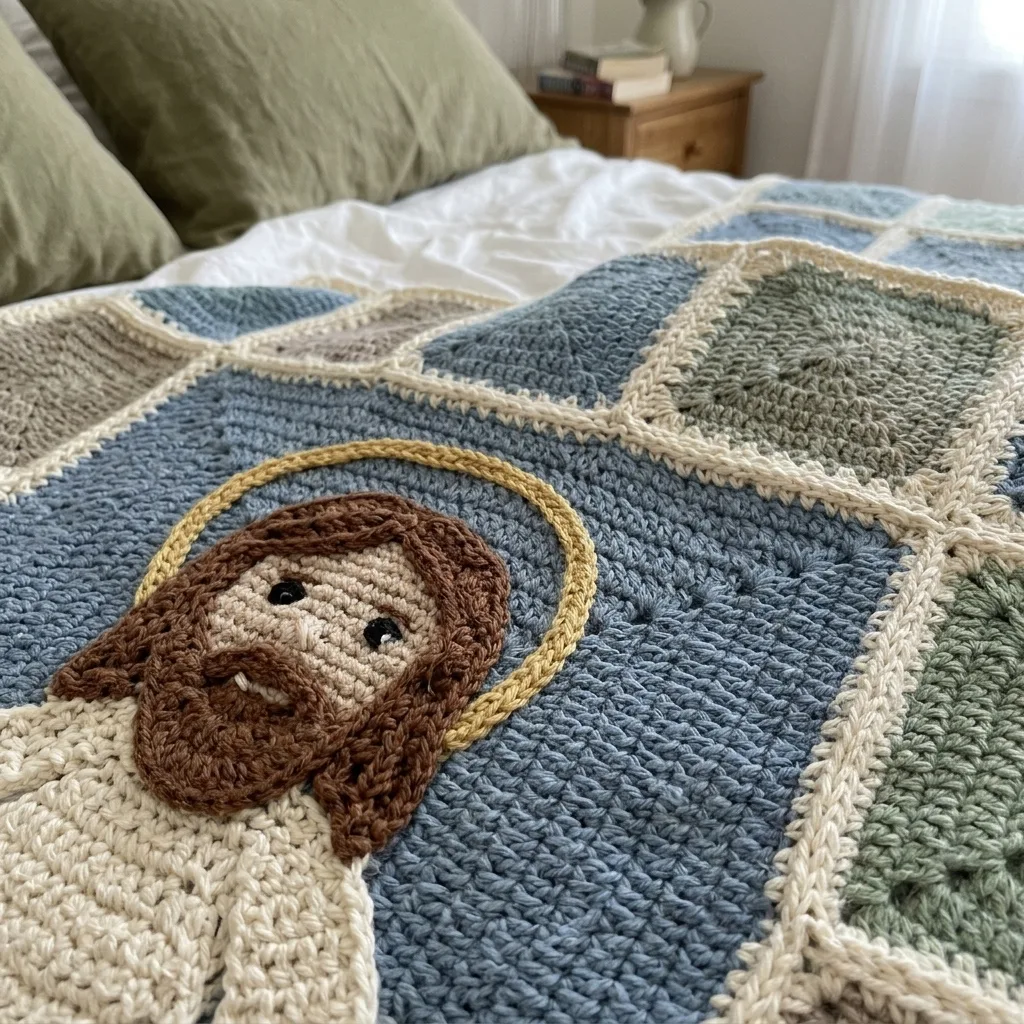
You need to know dc, sc and how to carry yarn in tapestry crochet.
Squares are portable, so you can work a little each evening.
One large Jesus panel at the heart of a calm, cozy bed cover.
About This Large Jesus Panel Granny Square Bed Cover Crochet Pattern Pattern
This bed cover has one large Jesus panel in the center and 78 plain granny squares around it. The panel is worked in single crochet tapestry, a full figure in a cream robe with open arms, brown hair and beard and a golden halo on a dusty blue background. The granny squares are solid double crochet in dusty blue, sage green and taupe, each with a cream edge, joined in a neat grid and finished with a cream scalloped border. The finished size is about 76 by 84 inches.
You will use double crochet, single crochet, tapestry color changes and loose whipstitch seams. It suits an intermediate maker who wants a long, peaceful project and an heirloom for a faith-filled home.
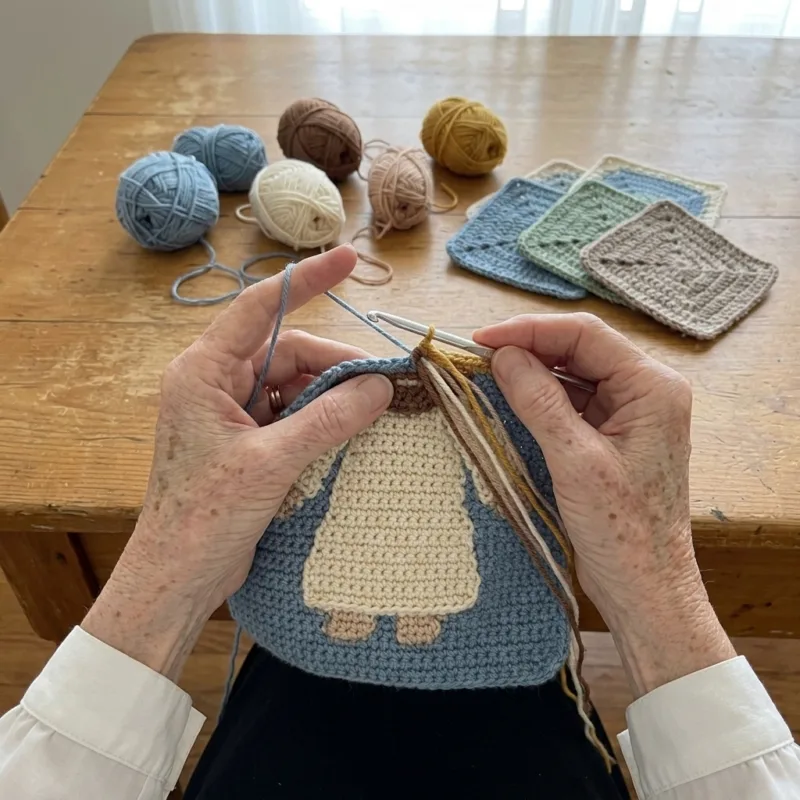
Why You'll Love This Large Jesus Panel Granny Square Bed Cover Crochet Pattern Pattern
I love that most of this cover is simple, restful work. The plain squares are easy to carry and work anywhere, and the tapestry panel is the one project you can really settle into, a few rows at a time.
It makes a thoughtful gift for a baptism, a wedding or a new home. The calm colors sit well in a bedroom, and the large figure in the middle gives the whole cover a quiet focal point.
Switch Things Up
Try a warm palette of cream, soft rose and sage, or navy, gray and cream. Work the panel alone with a plain border for a wall hanging of about 25 by 33 inches. For a throw, make a 6 by 7 grid with a smaller 2 by 3 square panel on a plain background. You can also swap the figure for a large cross or a Good Shepherd with a lamb, or finish with a plain single crochet border instead of the scallops.
Materials Needed
— Main Fabric
— Tools Required
The Free Pattern
0% complete
— Granny Square (Make 78: 26 dusty blue, 26 sage green, 26 taupe) :
— Central Jesus Panel (Make 1) :
— Panel Edging (Make 1, cream) :
— Layout :
— Border :
Assembly Instructions
- Block all 78 granny squares to about 8 inches (20 cm) square and block the finished panel with its edging to about 24 by 32 inches (61 by 81 cm).
- Lay everything out following the Layout section, with the panel in the center and the squares around it, and check that the colors never touch the same color along a side.
- Join the squares of Rows 1 to 3 and Rows 8 to 10 into two strips of 9 squares each, then join the three squares on each side of the panel into two columns of 4 squares each.
- Pin each column to the side edge of the panel at every 8 inch mark, easing the edging stitches to fit, and whipstitch loosely with cream yarn.
- Sew the top strip above the panel and the bottom strip below it in the same way, then join the finished center section to the top and bottom rows.
- Work the Border around the whole cover, then weave in all the ends.
- Block the finished cover flat and let it dry fully before using it.
Common Mistakes & How to Fix Them
Letting the squares drift in size. The panel is 3 squares wide, so check your first square against 8 inches and go down a hook size if it is larger, because a small difference adds up across the cover.
Skipping the corner pattern. If a corner is worked as 3 dc instead of 2 dc, ch 2, 2 dc, the square curls and will not sit flat, so check that every corner space holds a ch 2 on each round.
Pulling carried yarn too tight in the panel, which puckers the picture. Let the strands lie loose inside the stitches and check the width stays at 96 stitches.
Losing your place in the panel. Use a row counter and mark the start of each band, because the bands look alike.

You Might Also Like
Important Notes
Gauge: in the panel, 16 sc and 18 rows measure 4 inches (10 cm). A granny square should measure about 8 inches after blocking.
Yardages are estimates, so keep a spare ball of each main color and use yarn from the same dye lot.
Cotton has little stretch, so block on a flat surface and let the pieces dry fully before joining.
Wash in cool water on a gentle cycle and dry flat to keep the stitches and the picture neat.
I hope this cover finds a place in someone's bedroom, and in your hands one square at a time. Take your time with the panel, enjoy each row of the picture, and make it your own.
Crochet Abbreviations
You Ask, We Answer
How big is the finished bed cover?
The grid is 9 squares by 10 squares at about 8 inches each, so 72 by 80 inches, and the scalloped border brings it to about 76 by 84 inches. That suits a full or queen bed with a good drape.
Can I make just the Jesus panel?
Yes. Work the panel and its edging, then add the border for a wall hanging of about 25 by 33 inches. You can also add a few rounds of granny squares around it to make a small throw.
How do I wash and care for the cover?
Machine wash cool on a gentle cycle or hand wash, and lay it flat to dry. Avoid hot water and strong bleach so the colors and the picture stay neat.
Success!
Thanks for subscribing — check your inbox for a welcome note.
Abbreviations
- ch — chain
- sl st — slip stitch
- sc — single crochet
- sc2tog — single crochet two together
- dc — double crochet
- st(s) — stitch(es)
- DB — dusty blue (Panel)
- CR — cream (Panel)
- BR — brown (Panel)
- SK — skin tone (Panel)
- GD — gold (Panel)
- B — dusty blue granny square (Layout)
- S — sage green granny square (Layout)
- T — taupe granny square (Layout)